Slay The Spire 2 Guide
Slay the Spire 2 Ironclad Guide: Best Builds & Strategy
Master the Ironclad in Slay the Spire 2. Learn the best build paths including Strength, Exhaust, and Body Slam, plus Act-by-Act routing and relic priorities.
Ironclad is one of the best characters for learning Slay the Spire 2 fundamentals because his early game teaches the most important lesson in the game:
Spend HP only when it buys power.
Ironclad can afford that trade more often than other characters because Burning Blood heals 6 HP after combat. That does not mean you can ignore defense. It means Ironclad can turn early HP into elites, relics, upgrades, and stronger routes if the deck has enough tempo.
The best Ironclad runs usually start from the same foundation:
frontloaded damage → Vulnerable → elite farming → card quality → late scaling
After that, the build depends on what the run offers.
For general fundamentals, start with the Slay the Spire 2 Beginner Guide.
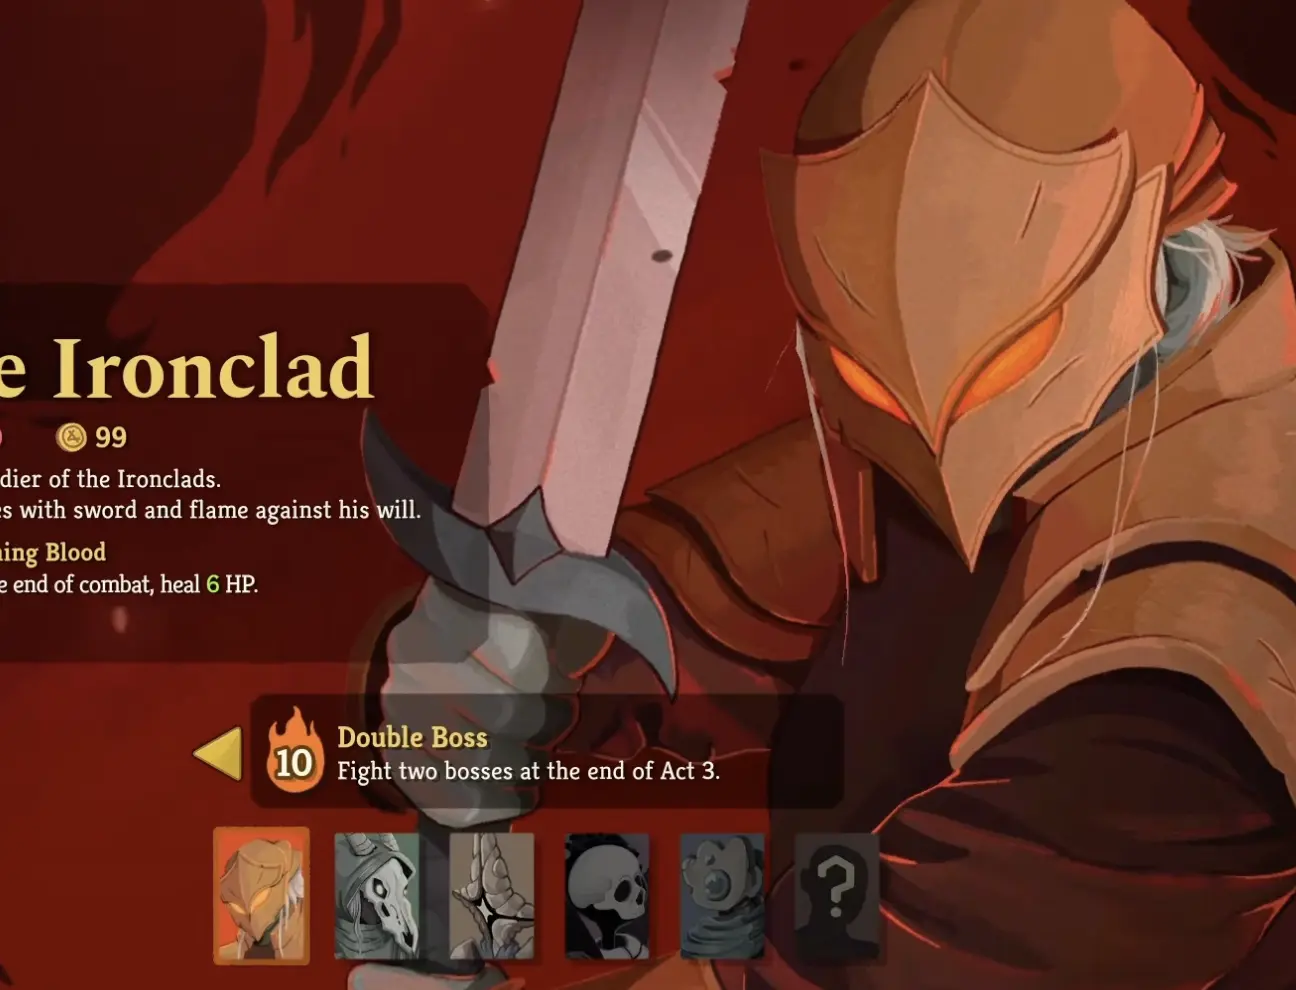
Early Access Version Note
Slay the Spire 2 is still in Early Access, so exact card numbers, relic values, and infinite-loop interactions can change between patches.
This guide uses current public Early Access card names and avoids treating fragile infinite loops as mandatory. In particular, Hellraiser + Pommel Strike style loops should be viewed as a powerful engine when supported, not as a guaranteed best build.
Fast Answer
| Question | Best practical answer |
|---|---|
| Best beginner Ironclad build? | Vulnerable Tempo with Bash, Pommel Strike, Headbutt, Uppercut, Thunderclap, or Break. |
| Best late-game scaling? | Strength, Exhaust, or Body Slam Block, depending on support. |
| Best early Ironclad goal? | Use Burning Blood healing 6 HP after combat to take prepared elites, not random chip damage. |
| Best early cards to look for? | Pommel Strike, Headbutt, Shrug It Off, Uppercut, Whirlwind, Molten Fist, Break. |
| Best upgrade targets? | Pommel Strike+, Whirlwind+, Body Slam+, Uppercut+, Bash+, Shrug It Off+. |
| Biggest trap? | Taking every medium attack after damage is already solved. |
| Best high Ascension habit? | Remove Strikes aggressively and build a real engine, not a pile of medium attacks. |
| Most important relic angle? | Relics that improve elite tempo, Vulnerable payoff, Strength, draw, or HP efficiency. |
Ironclad’s Core Advantage: Burning Blood
Burning Blood is not just a small heal. It changes how Ironclad should evaluate Act 1.
Because Ironclad heals 6 HP at the end of combat, he can often:
- take an early elite slightly sooner than other characters
- accept controlled HP loss for a strong relic or card reward
- upgrade instead of resting when fights went reasonably well
- take events that cost HP if the reward improves the run
- survive chip damage while drafting more aggressively
The mistake is treating Burning Blood as permission to bleed every fight.
A good Ironclad run spends HP to gain power. A bad Ironclad run spends HP because fights are taking too long.
Use this rule:
| HP loss | Interpretation |
|---|---|
| 5-10 HP to win a hallway fight faster | usually acceptable |
| 15-25 HP to beat a prepared elite | often acceptable if the reward improves the run |
| 30+ HP to beat one elite | warning sign unless the reward is run-changing |
| repeated chip damage every fight | deck problem, not just HP economy |
The Ironclad Foundation Before Any Build
Before committing to Strength, Exhaust, Body Slam, or Bloodletting, most Ironclad decks need the same shell.
| Need | Good examples | Why it matters |
|---|---|---|
| Frontloaded damage | Pommel Strike, Headbutt, Molten Fist, Break, Whirlwind | kills hallway fights before HP bleeds out |
| Vulnerable | Bash, Thunderclap, Uppercut, Break, Molten Fist | turns attacks into tempo |
| Block/card flow | Shrug It Off, Flame Barrier, Impervious, Battle Trance, Burning Pact | prevents forced rests and dead turns |
| Elite answer | Whirlwind, Uppercut, Break, Dismantle, potions | lets Burning Blood convert HP into relics |
| Future scaling | Inflame, Demon Form, Feel No Pain, Body Slam, Barricade | gives the deck a boss plan |
This foundation matters more than the name of your build.
If the deck cannot survive the next elite, it is not a build yet. It is a pile of future ideas.
Best Ironclad Build Paths
| Build path | Core idea | Key cards | Main risk |
|---|---|---|---|
| Vulnerable Tempo | apply Vulnerable and end fights quickly | Bash, Thunderclap, Uppercut, Break, Molten Fist, Bully, Dismantle | falls off if you never add scaling |
| Strength Scaling | turn Strength into boss damage | Inflame, Demon Form, Rupture, Sword Boomerang, Twin Strike, Whirlwind | too slow without block/draw |
| Exhaust / Deck Control | remove bad cards during combat and trigger payoffs | Corruption, Dark Embrace, Feel No Pain, Burning Pact, Second Wind, Fiend Fire | speculative pieces do nothing alone |
| Body Slam Block | convert Block into damage | Body Slam, Barricade, Entrench, Shrug It Off, Impervious, Flame Barrier, Juggernaut | needs enough block and setup time |
| Bloodletting / HP-Spend | use HP loss as energy, damage, or Strength fuel | Bloodletting, Offering, Hemokinesis, Rupture, Brand, Crimson Mantle | can kill you if HP math is sloppy |
| Big Attack / Burst | use high damage, Vulnerable, and upgrades to hit breakpoints | Headbutt, Pommel Strike, Break, Bludgeon, Whirlwind, Perfected Strike | becomes clunky if you keep adding attacks |
Build 1: Vulnerable Tempo Ironclad
This is the safest default Ironclad path.
The plan is simple:
- Apply Vulnerable.
- Use efficient attacks during the window.
- End the fight before enemy scaling matters.

Core Cards
| Card | Why it matters |
|---|---|
| Bash / Bash+ | starter Vulnerable; upgrading improves uptime |
| Thunderclap | AoE Vulnerable; better in multi-enemy fights and Vulnerable payoff decks |
| Uppercut / Uppercut+ | applies Weak and Vulnerable; excellent boss and elite utility |
| Break | large single-target damage plus heavy Vulnerable |
| Molten Fist | early damage that doubles Vulnerable and Exhausts itself |
| Bully | rewards enemies already being Vulnerable |
| Dismantle | hits twice if the enemy is Vulnerable |
| Cruelty / Vicious | payoff powers when your deck reliably applies Vulnerable |
Relics That Help
| Relic | Why Ironclad likes it |
|---|---|
| Bag of Marbles | starts fights with Vulnerable on all enemies |
| Paper Phrog | makes Vulnerable enemies take even more damage |
| Akabeko | boosts first attack turns, especially with AoE or big hits |
| Bag of Preparation | helps find Bash, Uppercut, or payoff attacks earlier |
| Vajra | adds immediate Strength, improving every attack turn |
When to Commit
Commit when you already have at least two of these:
- reliable Vulnerable beyond starter Bash
- a damage card that becomes much better into Vulnerable
- draw or Headbutt to line up the right attack
- a relic that rewards early damage or Vulnerable
- a route with elites you can punish quickly
When to Stop Taking Attacks
Stop adding average attacks when the deck already kills Act 1 hallway fights and can fight elites. At that point, you need draw, removal, block, or scaling more than another 1-energy hit.
Build 2: Strength Scaling Ironclad
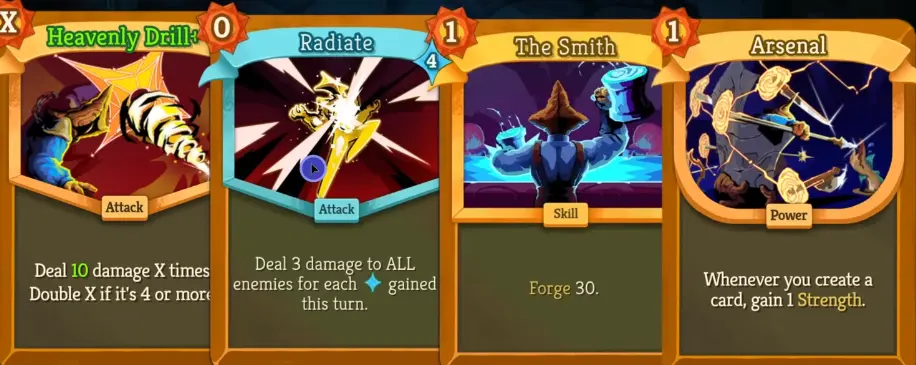
Strength is Ironclad’s classic long-fight plan. It becomes powerful when your deck can play repeated attacks, multi-hit attacks, or big finishers after the Strength is online.
Core Cards
| Card | Role |
|---|---|
| Inflame | simple early Strength; good when fights last long enough |
| Demon Form | slow but strong boss engine |
| Rupture | rewards HP-loss cards |
| Bloodletting | energy for big turns, especially with draw |
| Offering | HP for energy and cards |
| Sword Boomerang / Twin Strike / Whirlwind | convert Strength into multiple hits |
| Thrash | can scale as the fight progresses |
| Pommel Strike | keeps Strength turns moving because it deals damage and draws |
Relics That Help
| Relic | Why it matters |
|---|---|
| Vajra | starts combat with Strength |
| Red Skull | gives Strength when HP is low |
| Brimstone | powerful Strength engine, but dangerous because enemies also scale |
| Demon Tongue | doubles the first Strength gain each combat |
| Bag of Preparation | finds Strength powers earlier |
When Strength Is Good
Strength is good when:
- your deck can block while setting up
- you have multi-hit or repeated attack output
- you have draw to find Strength cards early
- your boss plan needs more long-fight damage
- Burning Blood and HP relics let you absorb self-damage cards
When Strength Is Bad
Strength is bad when:
- your deck is still losing Act 1 hallway fights
- Demon Form is your only plan and you cannot safely spend 3 energy
- you have no draw and keep finding scaling too late
- the deck has too many slow powers already
Do not draft Strength because the word looks powerful. Draft it because the next fights give you time to use it.
Build 3: Exhaust / Deck Control Ironclad
Exhaust is one of Ironclad’s strongest advanced directions because it improves hand quality during combat while triggering powerful payoffs.
Core Cards
| Card | Role |
|---|---|
| Corruption | turns Skills into free cards that Exhaust |
| Dark Embrace | draws when cards Exhaust |
| Feel No Pain | gains Block when cards Exhaust |
| Burning Pact | Exhausts a card and draws |
| Second Wind | converts non-attacks into Block and Exhaust triggers |
| Fiend Fire | finisher and mass Exhaust tool |
| True Grit | block plus Exhaust control |
| Ashen Strike / Pact’s End | payoff damage in decks that build an Exhaust pile |
Relics That Help
| Relic | Why it matters |
|---|---|
| Charon’s Ashes | deals AoE damage when you Exhaust |
| Joss Paper | adds draw after repeated Exhaust triggers |
| Burning Sticks | gives extra cards when Exhaust happens |
| Bag of Preparation | finds powers faster |
| Toxic Egg / upgraded Skill relics | improves the many Skills these decks often play |
Commit Only When the Pieces Are Real
Exhaust is not one card. It is an engine.
Take early Exhaust cards when they are already useful:
- Burning Pact draws.
- True Grit blocks.
- Second Wind can solve status-heavy turns.
- Fiend Fire can be a finisher.
Be more careful with payoff-only cards before you have enablers. Dark Embrace and Feel No Pain are excellent when cards are actually Exhausting; they are slow if they sit in a deck with no triggers.
Build 4: Body Slam Block Ironclad
Body Slam is the biggest missing archetype in many beginner Ironclad runs.
Instead of asking, “How do I deal damage while blocking?” this build asks:
What if blocking is my damage?
The key support is not only Barricade. In the current Early Access relic pool, Sturdy Clamp is the Calipers-style relic that lets up to 10 Block persist across turns. That makes Body Slam decks more forgiving when you have not found Barricade yet, because you can carry part of a strong block turn into the next turn instead of rebuilding from zero every round.
Core Cards
| Card | Role |
|---|---|
| Body Slam / Body Slam+ | converts current Block into damage; upgrade to 0 cost is huge |
| Barricade | keeps Block between turns |
| Entrench | multiplies existing Block |
| Shrug It Off | block plus draw |
| Flame Barrier | large block turn |
| Impervious | massive block spike |
| Stone Armor / Unmovable / Colossus | additional block scaling or mitigation tools |
| Juggernaut | turns Block gain into damage |
Relics That Help
| Relic | Why it matters |
|---|---|
| Anchor | starts combat with Block |
| Orichalcum | covers weak defensive turns |
| Self-Forming Clay | gives future Block after HP loss |
| Horn Cleat | helps a dangerous early turn |
| Sturdy Clamp | Calipers-style support; lets up to 10 Block persist across turns |
| Bellows | upgrades the first hand, which can improve block turns |
| Paper Phrog | still useful because Body Slam damage benefits from Vulnerable |
When to Commit
Commit when:
- you already have Body Slam plus real block
- Body Slam+ is a realistic upgrade target
- you find Barricade, Entrench, Sturdy Clamp, or strong block relics
- your deck can survive setup turns
- you have enough draw to find both block and payoff
Do not take Body Slam just because you saw one block card. The build needs a block engine, not one defensive card.
Build 5: Bloodletting / HP-Spend Ironclad
Ironclad is better than most characters at spending HP because Burning Blood refunds some damage after fights. That makes HP-spend cards attractive, but only when the math is controlled.
Core Cards
| Card | Role |
|---|---|
| Bloodletting | HP into energy |
| Offering | HP into energy and draw |
| Hemokinesis | efficient damage at an HP cost |
| Rupture | turns HP loss into Strength |
| Brand | small HP cost, Exhaust, and Strength |
| Crimson Mantle | repeated HP loss for block |
| Inferno | payoff for losing HP on your turn |
| Spite | rewards HP-loss turns with extra hits |
Relics That Help
| Relic | Why it matters |
|---|---|
| Red Skull | rewards being at or below half HP |
| Self-Forming Clay | turns HP loss into later Block |
| Black Blood | stronger post-combat healing |
| Brimstone | pairs with aggressive HP-spend race plans |
| Demon Tongue | increases the first Strength gain, strong with Rupture/Inflame lines |
The HP Rule
Only take HP-spend cards when at least one of these is true:
- the card wins the fight faster than the HP it costs
- you have Burning Blood or stronger healing to recover
- you have Rupture, Red Skull, or another payoff
- the card gives energy/draw that enables a decisive turn
- your route has recovery after the risk
Avoid stacking too many HP-cost cards without a plan. Burning Blood helps, but it does not save a deck that pays HP to do nothing.
Build 6: Big Attack / Burst Ironclad
This is not always a full endgame archetype. It is often the Act 1 and Act 2 shell that lets you survive long enough to find a stronger plan.
Core Cards
| Card | Role |
|---|---|
| Pommel Strike | damage plus draw; upgrade makes it much better |
| Headbutt | replays your best card by putting it back on top |
| Break | high damage and Vulnerable |
| Bludgeon | huge single hit |
| Whirlwind | AoE and energy sink |
| Perfected Strike | works only if your deck actually supports Strike-synergy |
| Molten Fist | efficient damage that Exhausts itself and stacks Vulnerable |
Relics That Help
| Relic | Why it matters |
|---|---|
| Akabeko | improves first attack burst |
| Bag of Marbles | makes opening attack turns stronger |
| Vajra | adds immediate damage to every attack |
| Bag of Preparation | finds the burst card sooner |
| Strike-damage relics | can justify Perfected Strike or Strike packages |
Main Risk
Burst decks fall apart when they keep taking attacks after the deck already kills things. Once your damage is solved, switch priorities:
- draw
- removal
- block
- scaling
- boss answer
Infinity / Hellraiser Note
Do not make “infinite deck” the default recommendation.
Hellraiser and Pommel Strike can still create powerful card-flow turns, especially when the deck has draw, energy, and a small card pool. But Early Access balance has targeted easy infinite loops, so treat this as an engine you may discover, not a build you force every run.
Practical rule:
| Situation | Decision |
|---|---|
| You already have Pommel Strike+, draw, energy, and a thin deck | Hellraiser can be worth building around |
| You have Hellraiser but no draw or deck control | do not assume it wins alone |
| Your deck is large and full of medium attacks | stop chasing infinite lines; refine the deck first |
| Patch notes change Hellraiser/Pommel interactions | update the section before publishing recommendations |
What to Upgrade First
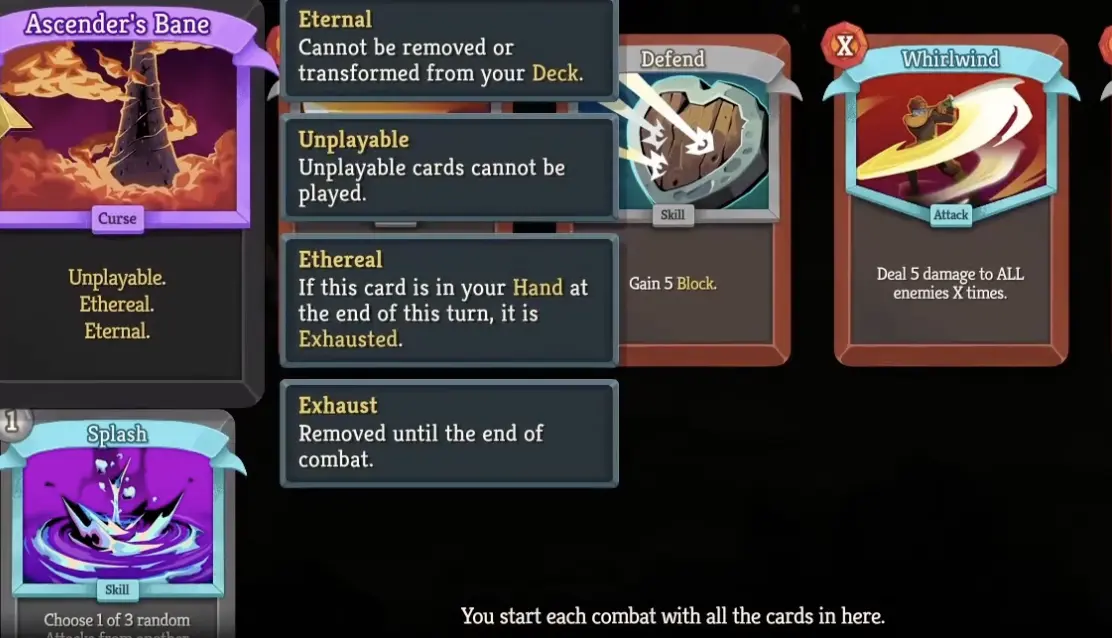
The best upgrades change fight outcomes. They do not just add small numbers.
| Upgrade | Why it is valuable |
|---|---|
| Pommel Strike+ | draw 2 makes the card a real engine piece |
| Whirlwind+ | damage jumps from 5 to 8 per hit, a major AoE breakpoint |
| Body Slam+ | cost reduction to 0 changes entire block turns |
| Uppercut+ | doubles Weak and Vulnerable duration |
| Bash+ | improves Vulnerable uptime from the starter deck |
| Shrug It Off+ | better block while preserving card flow |
| Molten Fist+ | stronger burst without adding permanent bloat because it Exhausts |
Upgrade priority:
- cost reductions that change turns
- draw upgrades
- damage breakpoints that kill one turn earlier
- Weak/Vulnerable uptime
- block breakpoints that prevent forced rests
- scaling powers once the deck can survive setup
Do not upgrade a card just because you play it often. Upgrade it because the next elite, boss, or route becomes safer.
Ironclad Relic Priorities
This is not a full relic tier list. It is a role checklist.
| Relic type | Examples | Why Ironclad wants it |
|---|---|---|
| HP recovery | Burning Blood, Black Blood | enables controlled HP spending |
| Opening tempo | Bag of Marbles, Akabeko, Anchor, Bag of Preparation | makes Act 1 elites safer |
| Strength | Vajra, Red Skull, Brimstone, Demon Tongue | supports Strength and burst plans |
| Vulnerable payoff | Paper Phrog | makes Ironclad’s core debuff more lethal |
| Exhaust payoff | Charon’s Ashes, Joss Paper, Burning Sticks | turns Exhaust into damage/draw/value |
| Block support | Sturdy Clamp, Orichalcum, Self-Forming Clay, Horn Cleat | helps Body Slam and setup turns |
| Upgrade support | Whetstone, Toxic Egg, Bellows | improves card quality without spending campfires |
The best relic is often the one that changes your route. If a relic lets you fight one more elite, smith instead of rest, or survive Act 2, it is doing real work.
High Ascension Ironclad Priorities
High Ascension Ironclad is less forgiving because hallway fights, elites, and bosses punish slow setup harder. Every card slot should either solve the next fight or strengthen your real engine.
| Priority | What it means in practice |
|---|---|
| Remove Strikes early | every Strike you draw is often a missed Pommel Strike, block card, or engine piece |
| Upgrade engine cards quickly | Pommel Strike+, Body Slam+, Uppercut+, Dark Embrace+, or key cost reductions can change entire fights |
| Build defense before greed | Corruption + Dark Embrace + Feel No Pain is powerful because it creates draw, block, and card flow, not because each card is good alone |
| Use potions to protect upgrades | spending a potion to avoid resting can be worth more than saving it for a fantasy boss turn |
| Stop adding medium attacks | high difficulty punishes decks that cannot find their best cards on time |
The strongest high Ascension Ironclad decks usually have a compact plan: fast Act 1 damage, enough block to survive setup, and one engine that actually wins long fights. Corruption + Dark Embrace + Feel No Pain is one of the cleanest examples when the support is real, but it still needs draw, removal, and enough immediate safety to get the powers in play.
Act-by-Act Ironclad Plan
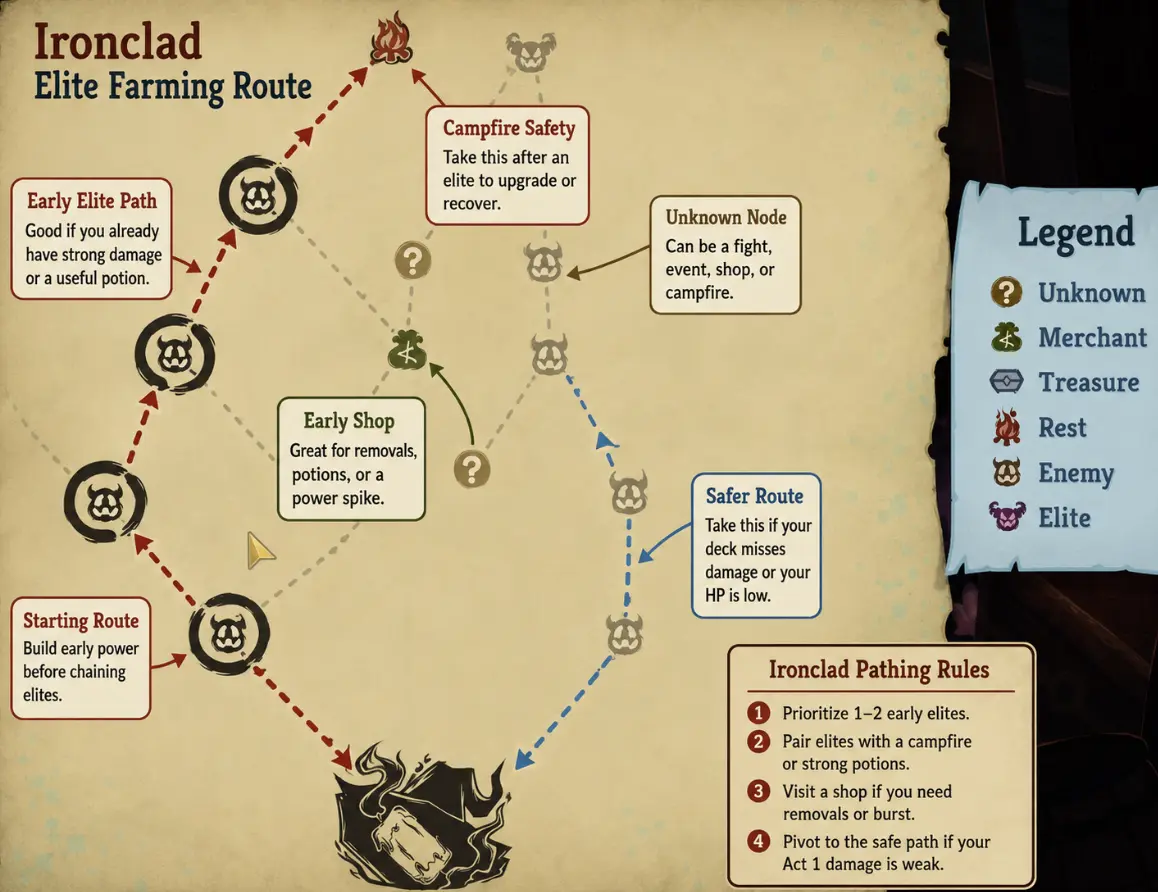
Act 1: Build the Foundation
Act 1 Ironclad wants controlled aggression.
Priorities:
- take 2-3 real attacks
- improve Vulnerable uptime
- get one block/card-flow tool
- use potions to secure elites
- upgrade a card that changes breakpoints
- avoid taking every medium attack after damage is solved
Good early picks include Pommel Strike, Headbutt, Shrug It Off, Uppercut, Whirlwind, Molten Fist, Break, and Thunderclap.
Act 1 is not where you force Demon Form, Corruption, Barricade, and Rupture all at once. Pick a scaling direction only after the deck can survive.
Act 2: Choose the Real Engine
Act 2 punishes “attacks plus hope.”
By now you need one of these:
- Strength engine
- Exhaust engine
- Body Slam/block engine
- Bloodletting/Rupture engine
- strong Vulnerable payoff engine
- enough burst plus draw to end fights quickly
Your Act 2 priorities are:
| Problem | Fix |
|---|---|
| fights last too long | add scaling or a finisher |
| dangerous turns force rests | add block, Weak, or relic support |
| key cards appear too late | remove, draw, or stop adding filler |
| deck has too many paths | commit to the strongest supported one |
| boss plan is unclear | draft for the boss, not for more Act 1 damage |
Boss Fights: Prove the Build Works
A boss-ready Ironclad deck needs more than damage.
Ask:
- Can I survive the setup turn?
- Can I draw my scaling before the fight is half over?
- Can I block while setting up Strength, Exhaust, or Barricade?
- Can I convert Vulnerable into a real damage window?
- Do I have a potion for the turn my deck is weakest?
- Does my deck still work if the key card is near the bottom?
If the answer is no, the issue probably happened earlier: too many medium attacks, too few removals, no draw, or a scaling package with no defense.
Ironclad in Co-op
Ironclad’s co-op role is simple: turn Vulnerable into a team-wide damage multiplier. In solo, Bash, Thunderclap, Uppercut, Break, and Molten Fist improve your own damage. In co-op, they improve the whole team’s damage, so Ironclad often creates more value by enabling teammates than by chasing personal overkill.
A good co-op Ironclad usually does three things:
- keeps Vulnerable available for team burst turns
- stabilizes early fights with frontloaded damage
- chooses one late-game role, such as Strength carry, Exhaust engine, or frontline support
Do not rebuild the entire multiplayer strategy inside this article. For team roles, revive rules, co-op-only cards, map voting, and communication habits, read the Slay the Spire 2 Co-op Guide.
When to Skip Ironclad Cards
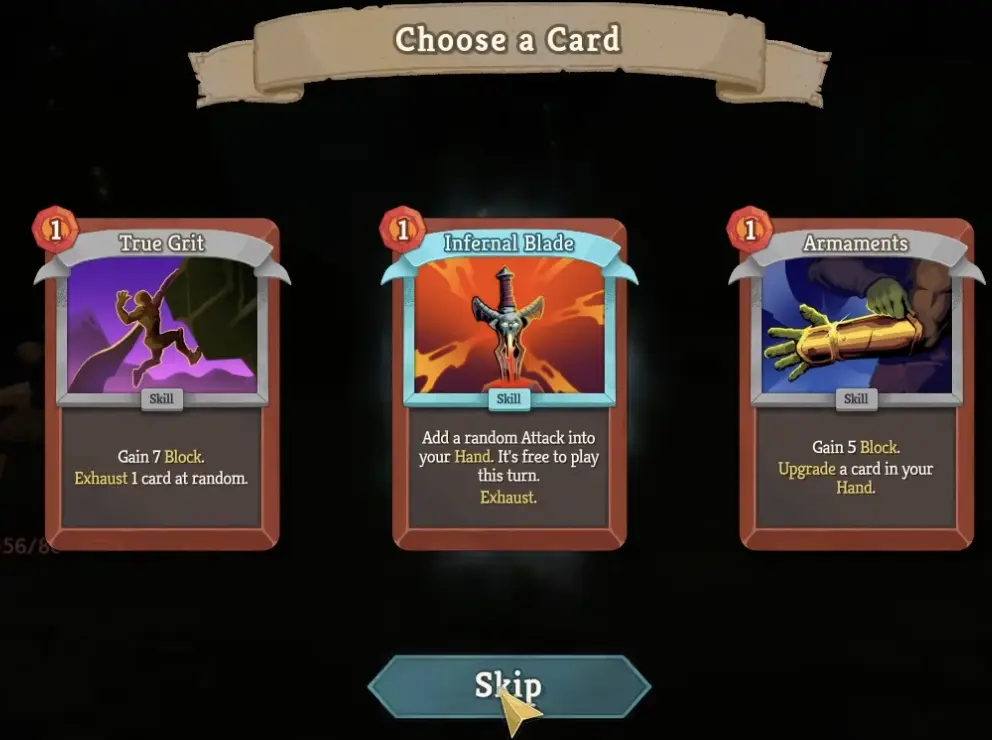
Ironclad’s biggest beginner trap is taking too many attacks.
Skip a card when:
- it is another medium attack after damage is solved
- it needs an upgrade you cannot spare
- it belongs to an archetype you do not actually have
- it makes your best cards harder to draw
- it does not help the next elite, boss, or route
- it adds HP cost without payoff or recovery
- it duplicates scaling instead of solving defense/card flow
For a deeper breakdown, read When to Skip Cards in Slay the Spire 2.
Common Ironclad Mistakes
| Mistake | Better habit |
|---|---|
| Taking every attack | stop once Act 1 damage is solved |
| Forcing Strength too early | add Strength after the deck can block/setup |
| Taking Exhaust payoffs without Exhaust | draft enablers first |
| Taking Body Slam with no block engine | wait for real block density or relic support |
| Treating Burning Blood as infinite HP | spend HP only for power |
| Ignoring Vulnerable | use it to turn attacks into tempo |
| Chasing old infinite lines blindly | check current Early Access patch behavior |
| Avoiding elites forever | use Burning Blood, potions, and upgrades to take prepared elites |
Final Ironclad Checklist
Before leaving Act 1, ask:
- Do I have 2-3 real attacks beyond starter Strikes?
- Do I have reliable Vulnerable or a reason not to?
- Can I fight at least one prepared elite?
- Do I have one strong upgrade target?
- Am I using Burning Blood’s 6 HP heal to buy power, or just bleeding?
- Do I know my likely scaling direction?
By Act 2, ask:
- Is my deck Strength, Exhaust, Body Slam, Bloodletting, Vulnerable payoff, or burst?
- Do I have enough draw/removal to find key cards?
- Can I block while setting up?
- Have I stopped adding medium attacks?
- Does my deck actually beat bosses?
Continue Reading in the Slay The Spire 2 Guide Cluster
This article is part of our Slay The Spire 2 strategy cluster. Use these guides to keep learning the game's core systems and routes.
Learn exactly when to skip card rewards in Slay the Spire 2. Master deck building, the rare counter, Enchantments, and act-by-act drafting to avoid dead draws.
Beginner GuideWhy You Keep Dying in Act 1: Slay the Spire 2 GuideLearn why Slay the Spire 2 Act 1 ends so many runs. Master elite preparation, early card drafting, campfire decisions, and map routing to survive.
Deck BuildingRest, Smith, Remove? Slay the Spire 2 Campfire & Shop GuideLearn exactly when to rest, smith, remove cards, or spend gold in Slay the Spire 2. Master HP thresholds, upgrade priorities, and shop logic to win.
Co-op GuideSlay the Spire 2 Co-op Guide: Roles, Scaling & RoutingMaster Slay the Spire 2 co-op mode. Learn how multiplayer revives work, the best team roles, scaling allocation, co-op cards, and elite routing strategies.