Slay The Spire 2 Guide
Why You Keep Dying in Act 1: Slay the Spire 2 Guide
Learn why Slay the Spire 2 Act 1 ends so many runs. Master elite preparation, early card drafting, campfire decisions, and map routing to survive.
Act 1 is where most Slay the Spire 2 runs are decided.
Not because Act 1 is the hardest part of the game, but because it exposes bad early decisions immediately. If your deck cannot deal damage now, block now, or answer the next elite now, the perfect Act 3 combo in your head does not matter.
Most beginner deaths come from four mistakes:
- drafting slow cards before the deck has frontloaded damage
- routing into elites without checking which elite pool the map uses
- adding too many cards and drawing dead hands
- resting so often that the deck never gets upgraded
This guide gives you a practical Act 1 checklist: specific elite prep, early card examples, route planning, deck size targets, campfire rules, character differences, and the new Slay the Spire 2 mechanics that make Act 1 easier to throw.
For broader fundamentals, start with the Slay the Spire 2 Beginner Guide.
Fast Answer
| If you keep… | It usually means… | Fix it by… |
|---|---|---|
| dying before the boss | not enough frontloaded damage | take real attacks before slow scaling |
| losing to elites | no preparation for the area’s elite pool | identify Overgrowth or Underdocks first |
| resting constantly | earlier fights lasted too long | upgrade damage/debuffs and use potions |
| drawing dead hands | deck bloat, Quest Cards, or too little draw | aim for 15-20 cards by the Act 1 boss |
| taking chip damage every fight | poor Weak/Vulnerable usage | draft debuffs, not only block cards |
| entering Act 2 weak | you dodged too much power | take at least one prepared elite when possible |
The Act 1 Rule: Solve Now First
The biggest beginner mistake is drafting for Act 3 before your deck can survive Act 1.
Early Act 1 decks need:
- 2-3 real attacks better than starter Strikes
- one way to reduce damage, usually block, Weak, or killing faster
- one way to improve consistency, such as draw, discard, exhaust, or card selection
- one plan for the elite pool your route can hit
A simple draft priority is:
- frontloaded damage
- Weak or Vulnerable
- consistency
- survivability
- scaling
Do not reverse this order unless your route is extremely safe.
Bad Draw Diagnosis
After the fourth normal fight, check your deck.
| Check | Healthy deck | Danger sign |
|---|---|---|
| Damage | 2-3 real attacks | still relying on Strike |
| Defense | 1-2 better block or Weak tools | only starter Defends |
| Debuffs | at least one Weak or Vulnerable source | every fight is raw trading |
| AoE | one answer if the area needs it | no plan for Phrog/Gardener |
| Scaling | 0-1 slow card | multiple setup pieces before tempo |
| Draw/card flow | at least one tool if offered | running out of cards or drawing dead |
| Potions | one useful potion before elite | empty belt or hoarding |
If your hands feel unlucky every run, the usual cause is deck construction: too many slow cards, too many Quest Cards, no draw, no removals, or too many attacks after damage was already solved.
Tempo Means Damage, Weak, and Vulnerable
Tempo means your deck changes the fight immediately.
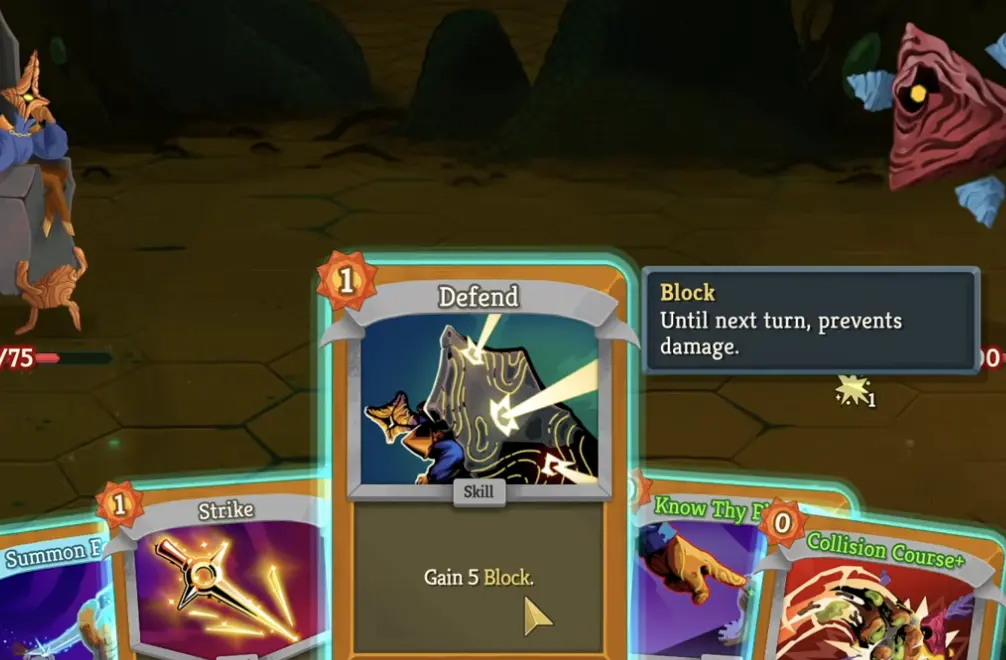
Weak reduces enemy damage by 25%. If an enemy attacks for 20, Weak often prevents 5 damage before you play any block. That can be better than another mediocre defend.
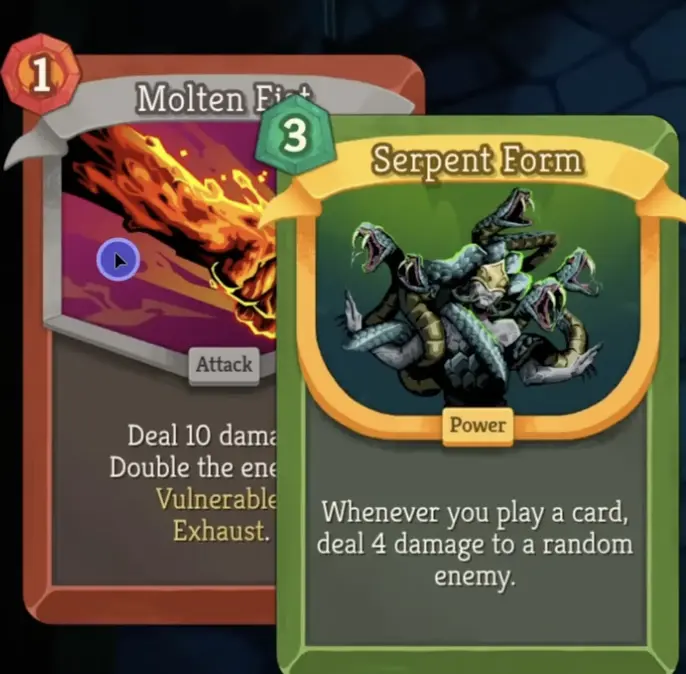
Vulnerable makes enemies take 50% more damage. Killing one turn earlier often saves more HP than adding another defensive card.
Strong Act 1 cards are strong because they affect the next turn cycle immediately. Examples include early cards such as Thunderclap, Uppercut, Beam Cell, Neutralize, Sucker Punch, Poisoned Stab, Deadly Poison, Whirlwind, Dagger Spray, Predator, Dash, and Shrug It Off. Character access and exact numbers can shift during Early Access, so treat the list as a role checklist rather than a permanent tier list.
Concrete Early Card Examples
Do not treat this as a fixed tier list. Use it as a drafting checklist, and prefer cards that are actually offered by your character or current card pool.
| Role | Good early examples | Why they matter |
|---|---|---|
| Frontloaded damage | Whirlwind, Predator, Dash, Poisoned Stab, Sucker Punch | kills hallway fights before repeated chip damage |
| AoE | Whirlwind, Thunderclap, Dagger Spray | important for Phrog Parasite, Wrigglers, and multi-enemy fights |
| Weak | Neutralize, Sucker Punch, Uppercut, Leg Sweep | turns big attack turns into manageable turns |
| Vulnerable | Thunderclap, Uppercut, Beam Cell; Ironclad can also use Bash/Bash+ | makes all later damage better |
| Block + consistency | Shrug It Off, Dash, Leg Sweep, Deflect, Predator | avoids dead turns while still progressing |
| Scaling payoff | Accuracy, Knife Trap, Entrench | good only when the deck already supports them |
The key question is not “is this card good eventually?”
The key question is:
Does this card help me survive the next three fights or the next elite?
Character-Specific Act 1 Differences
Act 1 is not the same for every character.
| Character | Act 1 risk profile | Practical adjustment |
|---|---|---|
| Ironclad | More forgiving because Burning Blood heals after fights | can spend more HP on early elites; prioritize attacks and Vulnerable |
| Silent | Strong control, but can bleed if poison/shiv pieces are too slow | get early damage such as Poisoned Stab, Dagger Spray, or Predator before cute synergy |
| Defect | Often upgrade-hungry and can stall before scaling works | route around campfires and avoid too many slow orb cards early |
| Regent | Huge burst, but setup turns can be fragile | take block/draw so the payoff turn actually arrives |
| Necrobinder | Lower safety margin and more punishing dead draws | route conservatively; avoid early Quest Card bloat and unsupported summons |
This is why copying one Act 1 rule across every character fails. Ironclad can often take a 20 HP elite trade and recover. Necrobinder may not be able to make the same trade safely.
Know Your Act 1 Elite Pool
Before drafting or routing, identify whether your Act 1 is Overgrowth or Underdocks.
Act 1 has two zone variants. The zone name appears briefly on the act title/banner when the run enters Act 1. If you miss it, use the map theme as a quick backup: Overgrowth has jungle, plant, and earth tones, while Underdocks has water, dock, sewer, and purple-blue tones. The first hallway enemy types also confirm the pool once you have seen them.
Do not prepare for a generic elite. Prepare for the elites your map can actually show.
Act 1a: Overgrowth Elites
| Elite | What it tests | How to prepare |
|---|---|---|
| Bygone Effigy | burst planning; it gives you an opening setup window | use the first turn to set up, then convert it into a big attack turn |
| Byrdonis | damage throughput; it gains Strength over time | kill quickly with frontloaded attacks, Vulnerable, and potions |
| Phrog Parasite | second-phase planning; it summons four Wrigglers after death | save AoE, block, or a potion for the Wriggler phase |
Bygone Effigy
Bygone Effigy starts by giving you a free setup window. Do not waste it only blocking or playing low-impact cards. Set up draw, Vulnerable, or a burst turn.
Best answers:
- attacks that stack well in one turn
- Vulnerable
- multi-hit or high-output turns
- potions that convert the opening into damage
Byrdonis
Byrdonis punishes slow decks because its Strength keeps making future attacks worse.
Best answers:
- upgraded attack
- Vulnerable
- attack potion or strength/burst potion
- avoiding low-impact skills that do not shorten the fight
If Byrdonis costs 30+ HP, your deck probably was not elite-ready.
Phrog Parasite
Do not kill Phrog Parasite without a plan for the Wrigglers.
Best answers:
- Whirlwind
- Dagger Spray
- saved AoE potion
- enough block for the turn after the split
- controlled targeting instead of random damage
Act 1b: Underdocks Elites
| Elite | What it tests | How to prepare |
|---|---|---|
| Phantasmal Gardener | four-enemy pressure and target priority | AoE, Weak, and repeated block |
| Skulking Colony | attrition; Hardened Shell caps HP loss per turn | consistent damage + block every turn, not one all-in burst |
| Terror Eel | single-target control and burst timing | reach the stun point safely, then finish with saved damage |
Phantasmal Gardener
This fight punishes single-target-only decks. You need AoE or a clear kill order.
Best answers:
- Whirlwind
- Thunderclap
- Dagger Spray
- Weak on multi-hit turns
- blocking repeated small attacks
Skulking Colony
Skulking Colony’s defining mechanic is Hardened Shell: it cannot lose more than a fixed amount of HP each turn. Do not rely on a static guide number here. Slay the Spire 2 is still in Early Access, so the exact cap can change between patches; read the Hardened Shell tooltip in combat and plan around the number shown there.
The strategic lesson is stable: one huge attack turn does not solve the fight. Skulking Colony is a multi-turn attrition check. Your deck needs to deal meaningful damage every turn while still blocking repeated attacks and any Strength scaling.
Best answers:
- steady 1-cost or 0-cost damage
- repeatable block or Weak
- poison or other damage that keeps pressure across turns
- draw/card flow so you do not miss an entire damage turn
- enough defense to survive after your first burst window is spent
Skip or delay this elite if your deck only has one big burst turn, no Weak, no repeatable block, and no way to keep dealing damage across several turns.
Terror Eel
Terror Eel has a major stun breakpoint around half HP. Your job is to reach that point without collapsing, then use the opening to finish the fight.
Best answers:
- controlled single-target damage
- Vulnerable before the burst window
- saved potion for the post-stun push
- block for multi-hit turns
Route From the Boss Backward
Good Act 1 routing starts at the boss, not at floor 1.
Use this order:
- Look at the boss icon. Ask whether you need multi-hit, AoE, scaling, or frontload.
- Trace backward. Find the final campfire, shop, and elite before the boss.
- Count escape options. A good route lets you dodge the second elite if your rewards are bad.
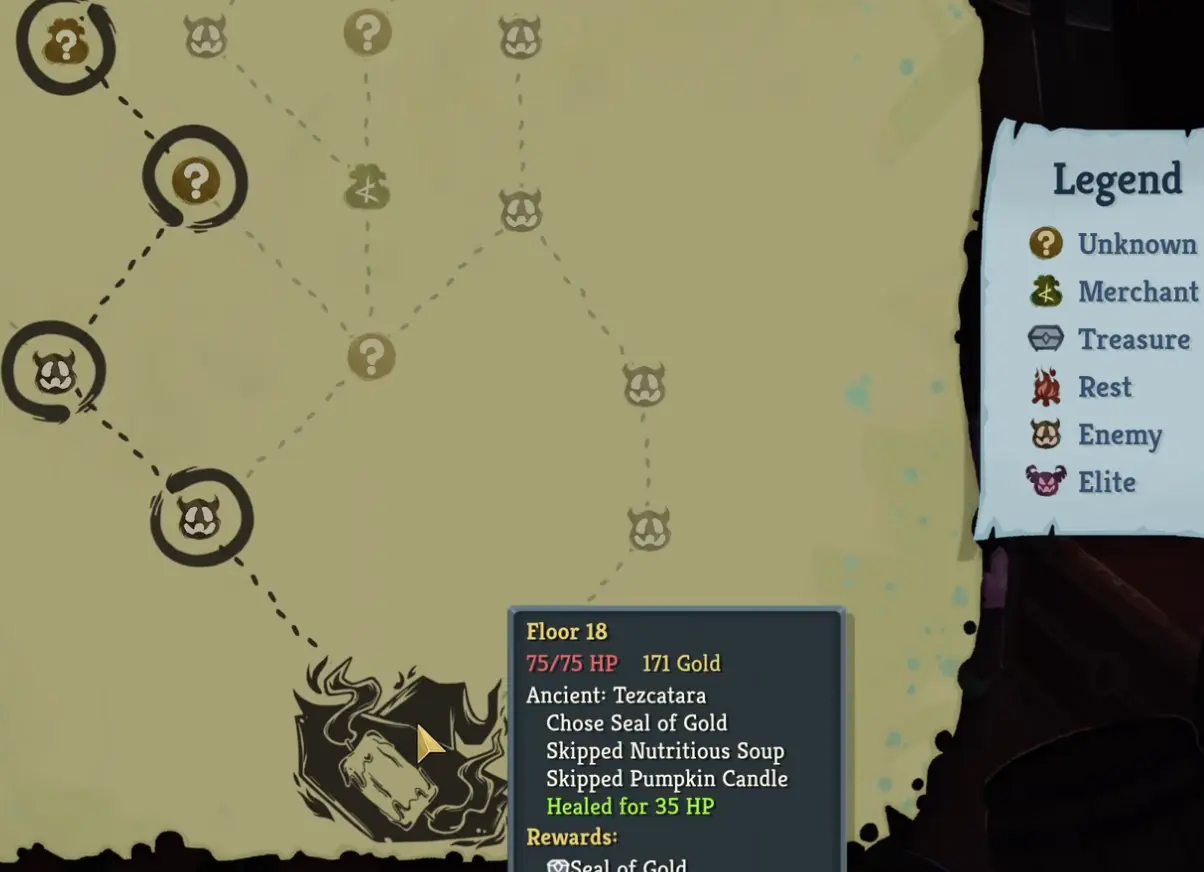
- Check the first campfire. If the first campfire comes after an elite, you need a stronger start.
- Get enough early fights. You usually want 2-4 normal fights before the first elite so you can find cards and a potion.
- Prefer earlier prepared elites. An early elite relic helps for the rest of the act. A boss-adjacent elite only helps for one or two fights.
A strong route often looks like:
3 normal fights → optional shop/question mark → elite → campfire → optional second elite → boss
A dangerous route looks like:
question mark spam → forced elite → no campfire → forced second elite
Question marks can be strong, but too many early question marks can leave you with no card rewards before your first elite.
When to Fight Elites
Fight an elite when most of these are true:
- you added at least two real damage cards
- you have Weak or Vulnerable
- you have a useful potion
- you upgraded a premium card
- your route has campfire, shop, or escape support afterward
- your HP is roughly 55-60%+
Avoid or delay the elite when most of these are true:
- the deck is still mostly starter cards
- your only new cards are slow setup pieces
- you have no potion
- you cannot answer the area’s elite pool
- your HP is already below 45%
- the route gives no recovery afterward
Act 1 is controlled greed. You should spend HP for power, but not so much that every campfire becomes a forced rest.
Campfire Rule: Upgrade Unless Resting Prevents Death
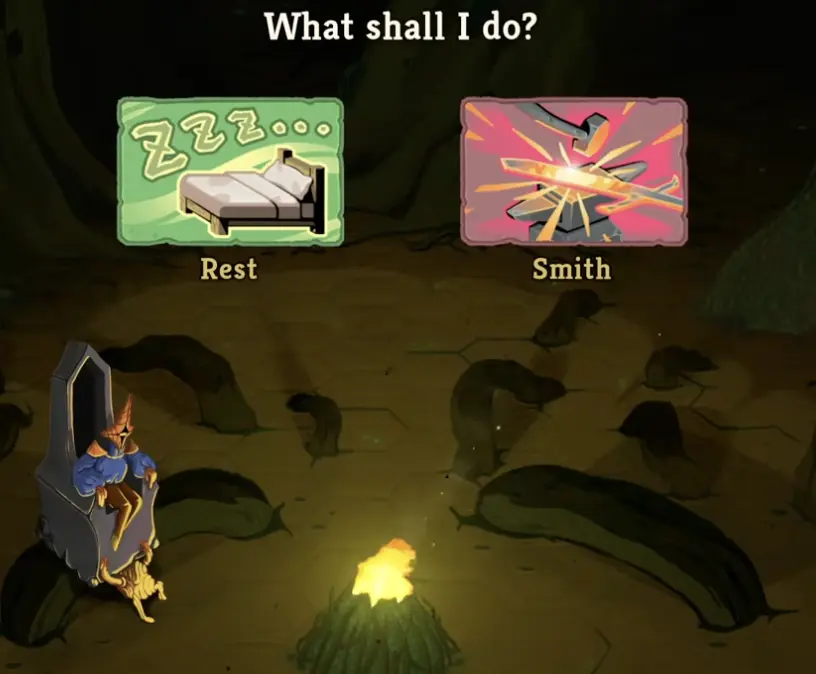
Use this simple Act 1 campfire rule:
| Current HP | Usual decision |
|---|---|
| 65%+ HP | Upgrade |
| 40-65% HP | Decide based on the next node |
| 40% or lower | Usually rest |
The real question is:
Will this upgrade prevent more damage than resting heals?
Upgrading Whirlwind, Thunderclap, Shrug It Off, Uppercut, Predator, Dash, or your best damage/debuff card can save more HP over the next three fights than resting once.
Deck Size Target: 15-20 Cards by the Act 1 Boss
Act 1 decks do not need to be huge. They need to draw the cards that matter.
Practical targets:
| Timing | Target |
|---|---|
| after 3-4 fights | about 12-15 cards |
| before first elite | 2-3 real attacks beyond starter cards |
| Act 1 boss | usually 15-20 cards |
| above 20 cards | only fine with strong draw, discard, exhaust, or card selection |
Skip more often when:
- the deck already has enough damage
- the offered card does not solve the next elite or boss
- the card needs another card to become useful
- the card is worse than drawing your upgraded card sooner
Remove basic Strikes early when you already have better attacks. Remove weak defensive cards later if your deck has upgraded block or stronger mitigation.
For a deeper breakdown, read: When to Skip Cards in Slay the Spire 2
Durability and Quest Cards: Two New Act 1 Traps
Slay the Spire 2 adds two early traps that new players often underrate.
Durability
Durability limits how many times certain effects can trigger in a single combat. A relic that looks like a permanent passive may only fire once, twice, or a few times before it is exhausted for that fight.
Common Act 1 mistake: treating a Durability relic as if it solves the whole elite. For example, a relic that gives early Block, damage, draw, or a debuff for only 2-3 activations per combat may be excellent in hallway fights but fail to carry a long elite such as Skulking Colony.
Ask:
- How many activations do I actually get this combat?
- Do those activations happen on the dangerous turns?
- What is my backup plan after the Durability is spent?
Durability matters most in long fights, second-phase fights, and attrition elites.
Quest Cards
Quest Cards can be worth it, but they are dead draws until completed.
Take them when:
- your deck already has enough damage
- you have draw/discard to move past dead hands
- the route lets you complete the quest soon
- the reward solves a real problem
Avoid them when:
- they appear before your first elite
- your deck is already inconsistent
- you are low HP
- you already have one or more dead cards
One dead draw is manageable. Two early dead draws can be why your best block appears one turn late.
HP Budget: Spend HP, but Track the Bill
HP is a resource, but it is not free.
| Plan | Acceptable cost | Warning sign |
|---|---|---|
| one early elite | 10-25 HP | 30+ HP usually means you were not ready |
| two elites | 20-40 HP total | only safe with campfire/shop support |
| zero elites | safer now | often weaker Act 2 |
| boss entry | 45%+ HP if deck is strong | 60%+ if deck lacks scaling or boss answer |
Do not ask only “did I survive?”
Ask:
Did I pay HP to become stronger, or did I pay HP because my deck failed?
Those are different outcomes.
Potions Are Part of Your Deck
Many beginners die holding unused potions.
Use potions to:
- kill Byrdonis before Strength snowballs
- clean up Wrigglers after Phrog Parasite
- reach Terror Eel’s stun point safely
- avoid an emergency rest
- turn a bad opening hand into a won elite fight
A potion that saves 15 HP is often better than an average card reward. If it lets you upgrade instead of rest, it may be worth even more.
Use Seeds to Learn Faster
If you die in Act 1, record the seed and replay it in custom mode.
Test one change:
- take a different first attack
- use the potion in the elite
- route to the shop before the elite
- skip the speculative scaling card
- rest instead of upgrade, or upgrade instead of rest
- dodge the second elite
Seed review turns “I got unlucky” into “this decision cost 18 HP.”
Common Act 1 Mistakes
| Mistake | Better habit |
|---|---|
| drafting scaling too early | take damage/debuffs first |
| ignoring elite names | prepare for Overgrowth or Underdocks specifically |
| avoiding every elite | take at least one prepared elite when possible |
| taking every attack | stop adding attacks once damage is solved |
| hoarding potions | use potions to preserve HP and upgrades |
| over-resting | upgrade unless death is realistic |
| taking Quest Cards too early | accept dead draws only when the deck can carry them |
| routing from floor 1 only | route from the boss backward |
FAQ
Why is Act 1 so hard in Slay the Spire 2?
Because Act 1 punishes slow tempo before your deck has enough draw, removals, relics, or upgrades. If you draft for a future combo before solving immediate fights, early enemies take too much HP.
Should I always fight elites in Act 1?
No. Fight prepared elites. Avoiding every elite often makes Act 2 harder, but forcing elites with starter-card damage, no potion, and no recovery path is a common way to die.
Which Act 1 elites should I prepare for?
In Overgrowth, prepare for Bygone Effigy, Byrdonis, and Phrog Parasite. In Underdocks, prepare for Phantasmal Gardener, Skulking Colony, and Terror Eel.
How many cards should I have by the end of Act 1?
A good beginner target is 15-20 cards by the Act 1 boss. Going above that is fine only if your deck has strong draw, discard, exhaust, or card selection.
Should I rest or upgrade at campfires?
Upgrade at 65%+ HP in most cases. Rest below 40% HP unless the next node is safe or the upgrade clearly prevents more damage than the heal. Between 40-65%, decide based on the next fight.
Are Quest Cards worth taking?
Sometimes. They are strongest when your deck is already stable and the route lets you complete them. They are dangerous when they enter a small, weak Act 1 deck before the first elite.
Final Act 1 Checklist
Before the Act 1 boss, ask:
- Do I have 15-20 cards, or a good reason to be larger?
- Do I have 2-3 real attacks beyond starter cards?
- Do I have a plan for my area’s elite pool?
- Do I have Weak, Vulnerable, or reliable block?
- Did I use potions to preserve HP and upgrades?
- Did I route from the boss backward?
Continue Reading in the Slay The Spire 2 Guide Cluster
This article is part of our Slay The Spire 2 strategy cluster. Use these guides to keep learning the game's core systems and routes.
Learn exactly when to skip card rewards in Slay the Spire 2. Master deck building, the rare counter, Enchantments, and act-by-act drafting to avoid dead draws.
Deck BuildingRest, Smith, Remove? Slay the Spire 2 Campfire & Shop GuideLearn exactly when to rest, smith, remove cards, or spend gold in Slay the Spire 2. Master HP thresholds, upgrade priorities, and shop logic to win.
Co-op GuideSlay the Spire 2 Co-op Guide: Roles, Scaling & RoutingMaster Slay the Spire 2 co-op mode. Learn how multiplayer revives work, the best team roles, scaling allocation, co-op cards, and elite routing strategies.
Character GuideSlay the Spire 2 Ironclad Guide: Best Builds & StrategyMaster the Ironclad in Slay the Spire 2. Learn the best build paths including Strength, Exhaust, and Body Slam, plus Act-by-Act routing and relic priorities.