Rune Dice Guide
Rune Dice Merge Guide: Big Combos & 8-Die Merges
Master Rune Dice chain merging. Learn push merges, ricochet angles, two-trigger turns, and rune timing to build 8-value dice and trigger massive combos.
Chain merging is the skill that separates a safe Rune Dice run from a run that suddenly deletes half the enemy board.
At first, it looks like you are just throwing one die into another matching die. After a few fights, the real goal becomes clearer: use angles, rebounds, pushed dice, field refresh timing, and setup turns to turn one shot into several merges.
This guide explains how chain merging works, how to set up push merges and ricochet merges, how to create two-trigger turns, how to build toward 8-value dice, which runes and relics help the most, and when you should stop chasing a combo and play defensively instead.
For basic mechanics and beginner routing, read the Rune Dice Beginner Guide.
For a safe early class that benefits from frequent merging, read the Rune Dice Rogue Build Guide.
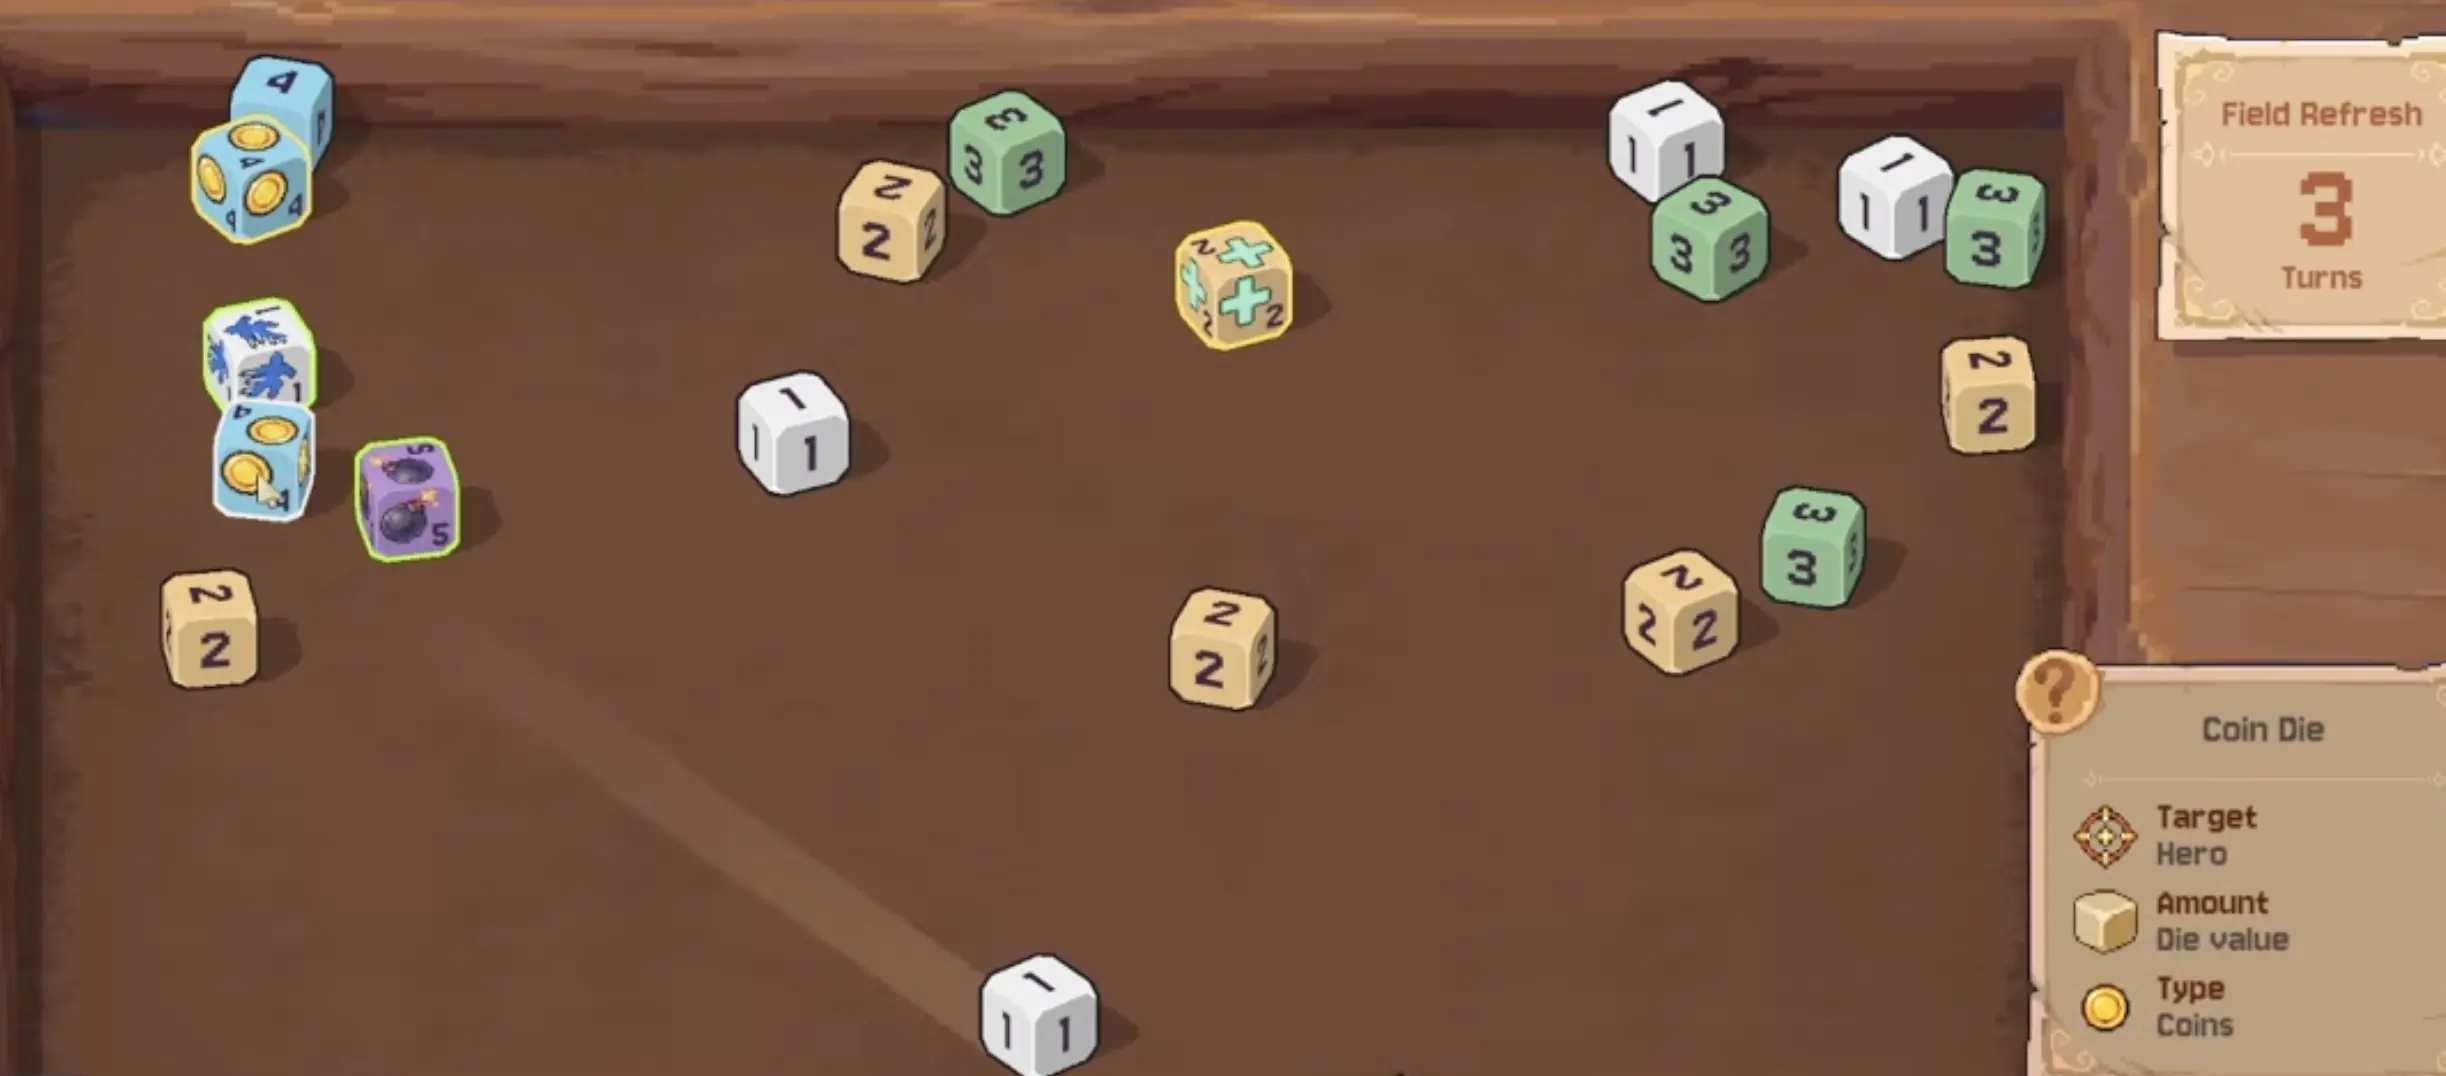
Fast Answer
| Goal | Best approach |
|---|---|
| Start a basic chain | Merge into the nearest matching value and let the upgraded die continue |
| Fix a bad angle | Push another die into its match instead of forcing your thrown die to merge |
| Create a double-trigger turn | Let your thrown die touch one useful die first, then rebound into its matching value |
| Make bigger combos | Look for 1 → 2 → 3 routes before shooting |
| Reach high-value dice | Protect useful 4s, 5s, and 6s instead of wasting them early |
| Use ricochets | Bounce off walls or other dice to redirect the shot |
| Avoid failed shots | Use less force when the target is close and more force only for long rebounds |
| Beat field refresh | Cash out your setup before the board resets |
| Save a run | Use Gravity, Shuffle, or extra-throw relics when no clean merge exists |
The best chain merge habit is simple: do not only look at the die you are throwing. Look at what every die will become after the first merge.
How Chain Merging Works
Dice merge when matching values collide. After a successful merge, the die increases by 1 and can continue toward another die with the same new value.
A simple chain looks like this:
| Step | Result |
|---|---|
| 1 | A value 1 die hits another 1 |
| 2 | The merged die becomes a value 2 |
| 3 | The new 2 travels into another 2 |
| 4 | The merged die becomes a value 3 |
| 5 | If a matching 3 is nearby, the chain continues |
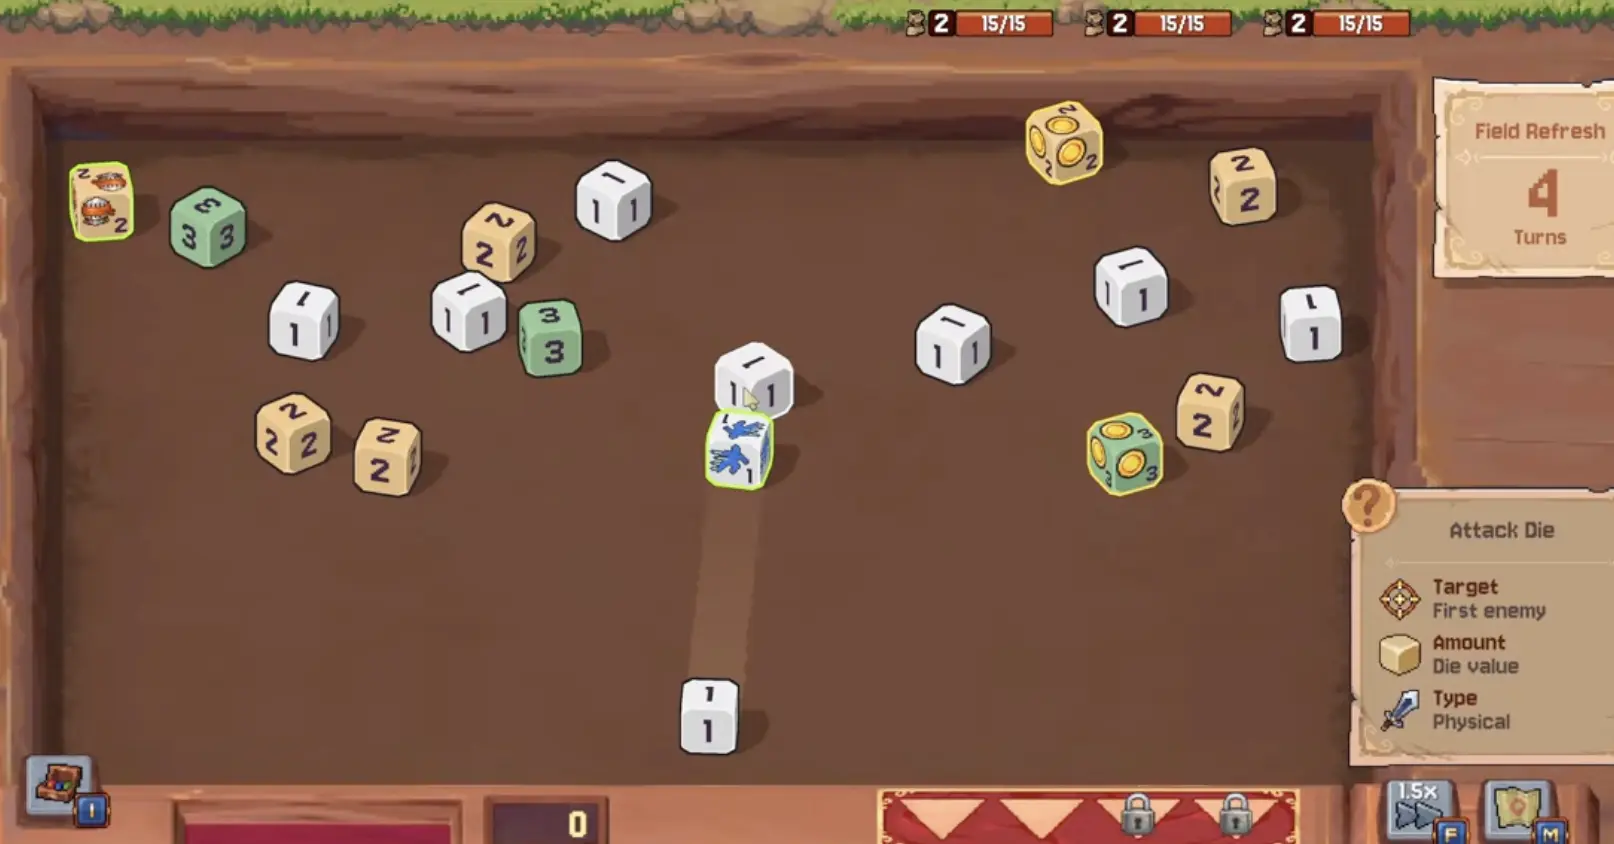
The important detail is that chain merges are not only about the first target. A weak first merge can be correct if it sends the upgraded die into a better second or third merge.
Before shooting, ask:
- What value will this die become after the first merge?
- Is there another die with that new value nearby?
- Will the upgraded die move in a useful direction?
- Is field refresh about to erase this setup?
- Am I taking too much damage if the shot fails?
If the answer is good, take the chain. If not, use the turn to collect coins, heal, dodge, or set up a safer angle.
Your Thrown Die Does Not Need to Be the One That Merges
This is the biggest early breakthrough in Rune Dice.
You do not always need to shoot your active die directly into its match. Sometimes the best shot is to hit a completely different die and push it into a matching value.
Use push merging when:
- your active die has no clean match
- two matching dice are close but not touching
- a high-value die is slightly out of line
- a coin, bomb, heal, or class die can be pushed into value
- the direct shot would send the upgraded die in the wrong direction
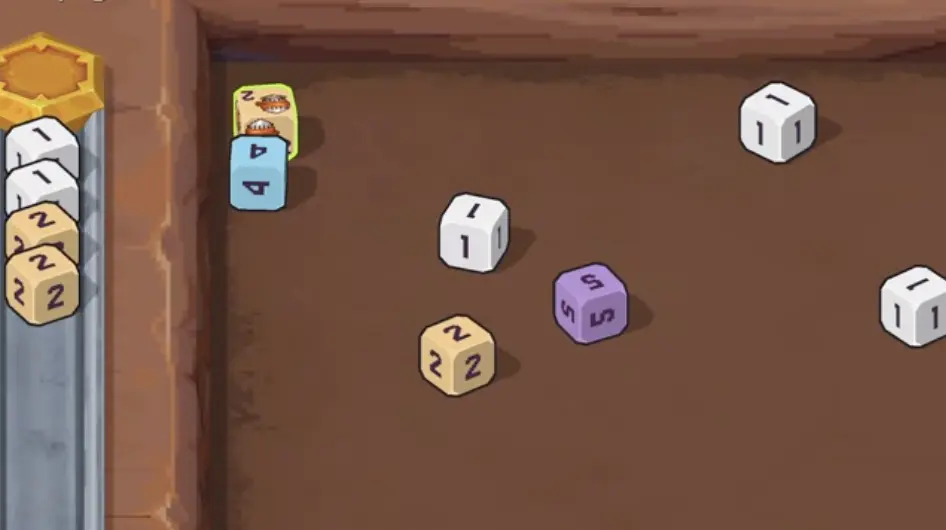
This is especially important when the board is crowded. A crowded board looks messy, but it gives you more objects to bump, redirect, and push.
How to Read a Board Before Shooting
Do not start with the die in your hand. Start with the board.
Use this order:
- look for duplicate values
- check whether any duplicate values are already close
- identify high-value dice worth preserving
- check special dice such as coin, heal, bomb, dodge, poison, or backstab
- check enemy attack timing
- check field refresh
- choose whether this turn is for damage, setup, economy, or survival
A good shot often has two purposes. For example, it might merge a 2 into a 3 while also nudging a coin die closer to another coin die. Or it might trigger damage while setting up a better heal next turn.
Bad shots usually have only one purpose and no backup plan.
Chain Merge Practice Routine
Use this routine while learning. It is short enough to run before every shot without slowing the game down too much.
- name the first merge
- name the value it becomes
- look for the next matching value
- check whether your shot can push another die into a match
- check field refresh
- check enemy attack intent
- choose a safe backup target before shooting
After a few runs, you will start seeing routes naturally. You will also get better at recognizing when a board is not worth forcing.
If you are missing too many shots, simplify the routine: find the first merge, then ask only one question — where does the upgraded die go next?
Two-Trigger Turns: How to Create Double Reactions
A normal chain starts with a direct merge. A stronger turn can happen when the thrown die touches one useful die first, then rebounds into its matching value and starts a second reaction.
Think of it as a two-trigger turn:
| Trigger | What you are trying to do |
|---|---|
| First contact | Touch, move, or activate a useful die that is not your final merge target |
| Second contact | Rebound into the matching value and start the main chain |
This is different from a basic push merge. In a push merge, your shot mostly moves another die into a match. In a two-trigger turn, the thrown die itself is doing two useful jobs before the turn ends.
A good two-trigger turn might look like this:
- your thrown die clips a coin die and nudges it toward another coin
- the same thrown die bounces into its matching value
- the merge upgrades the die
- the upgraded die travels into the next matching value
- the coin setup is now better for the next turn
Use two-trigger turns when:
- the first contact improves the board even if the main chain is small
- the rebound angle is still safe
- you can touch a special die without ruining the main merge
- enemy pressure is low enough to attempt a more technical shot
- the board has several useful dice close together
Do not force this every turn. If the first contact makes the main merge less reliable, take the simpler chain. Two-trigger turns are powerful because they add value to a shot, not because they make every shot more complicated.
Ricochet Merges
Ricochet merges happen when you bounce a die off a wall, another die, or a cluster to reach a match that is not available directly.
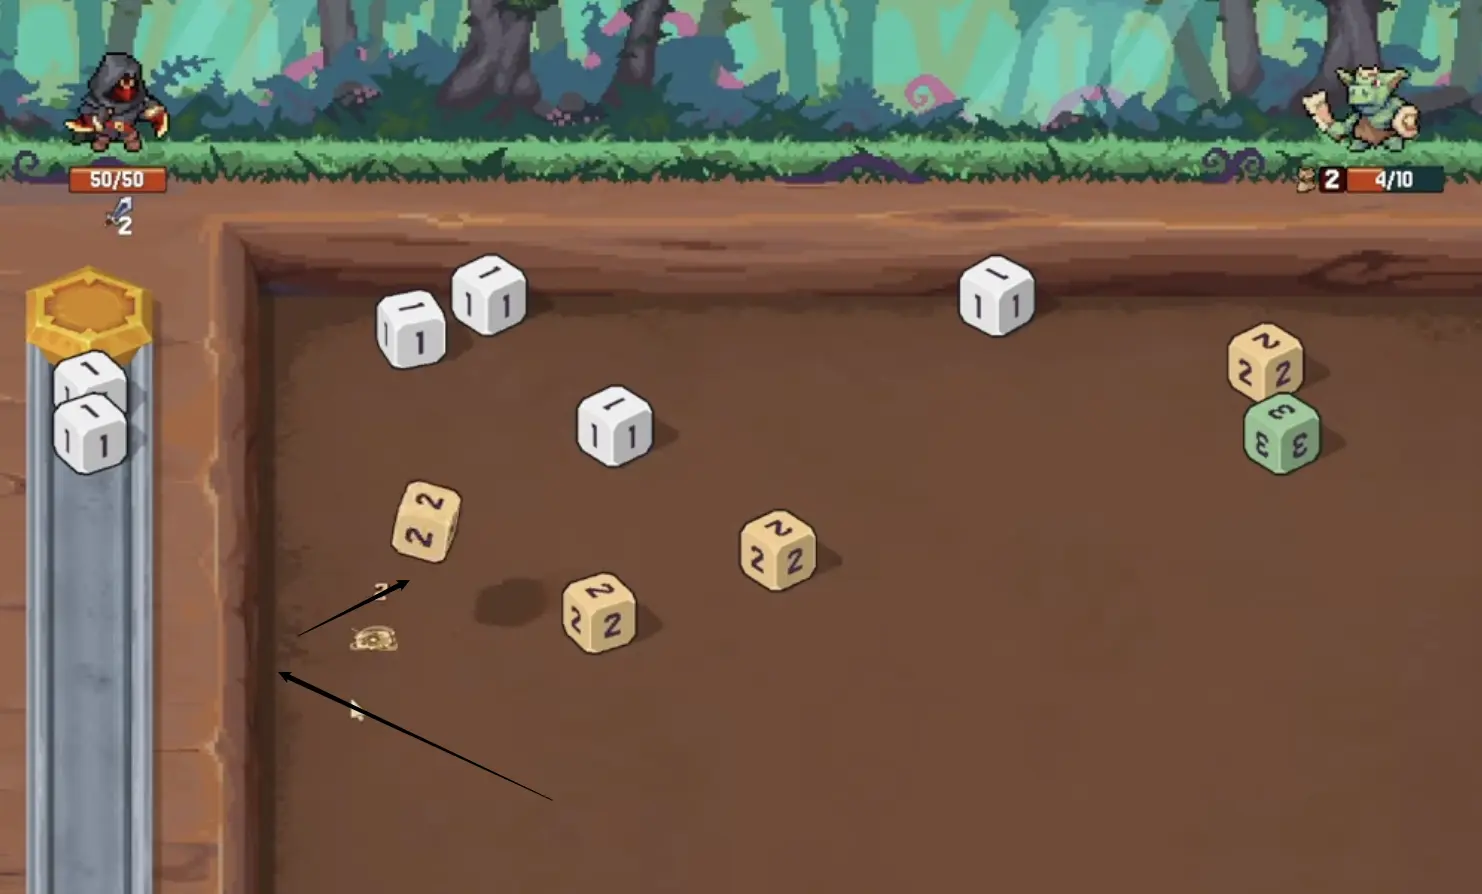
Use ricochets when:
| Situation | Why ricochet helps |
|---|---|
| The match is blocked | A wall bounce can approach from a different angle |
| The direct shot is too narrow | A rebound gives a wider path |
| You need to hit the side of a die | Ricochet changes the contact point |
| A high-value die is near a wall | Wall bounces can push it into another high-value die |
| You need to avoid enemy dice | A curved path can skip dangerous objects |
Ricochet shots are powerful, but they are also easy to overhit. If the target is close, use less force. Too much power can send the die past the merge or knock the setup apart.
The 1 → 2 → 3 Rule
The cleanest early chains often come from low-value dice.
A value 1 die is not exciting by itself, but it can start a route:
| Step | Result |
|---|---|
| 1 hits 1 | The die becomes 2 |
| 2 hits 2 | The die becomes 3 |
| 3 hits 3 | The chain continues into higher value |
That kind of route gives you several benefits at once:
- more total damage
- more special dice triggers
- more coins if coin dice are involved
- better odds of reaching 4, 5, 6, or higher
- more value before field refresh
Do not ignore 1s and 2s. They are often the easiest way to build toward the large dice that win bosses.
How to Build Toward 8-Value Dice
An 8-value die usually does not happen by accident. You need to protect the right chain and avoid wasting mid-value dice too early.
Use this plan:
| Stage | Goal |
|---|---|
| Values 1–2 | Start chains and create direction |
| Values 3–4 | Connect special dice or set up future merges |
| Values 5–6 | Stop wasting them on low-impact shots |
| Value 7 | Look for the safest path to 8 |
| Value 8 | Cash it out through damage, class effect, or unlock progress |
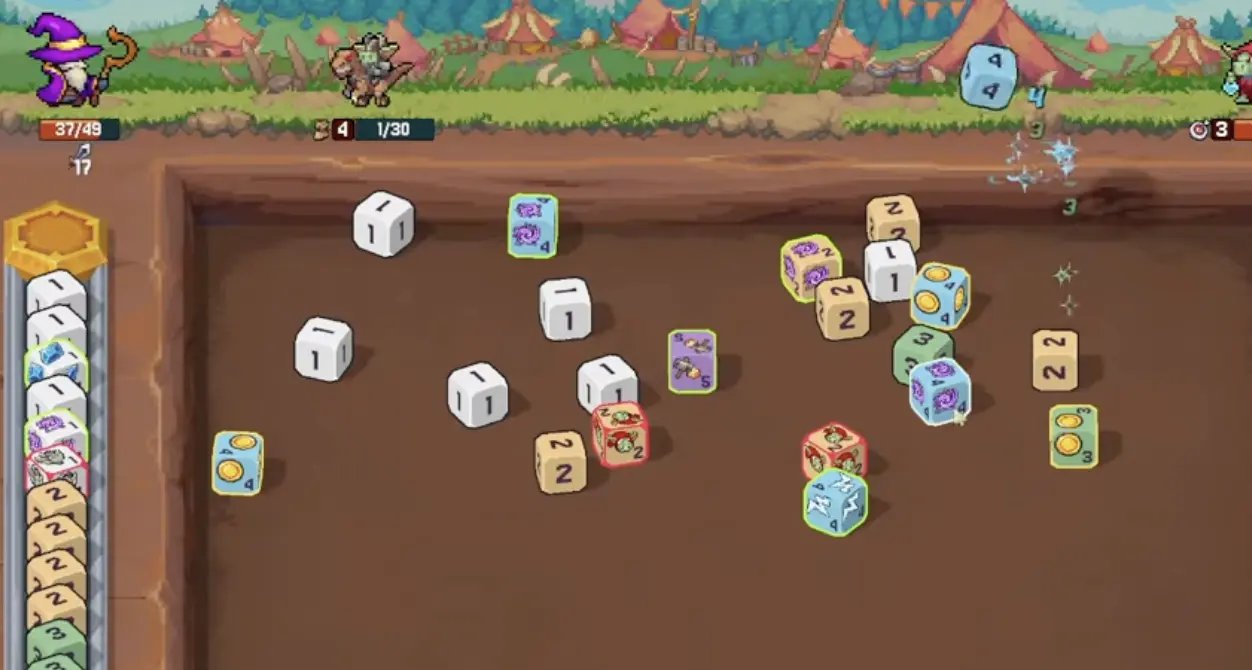
The key is patience. If you see a 5 or 6, do not immediately throw it into a bad angle just because it can merge. Ask whether waiting one turn, using Gravity, or pushing another die first creates a safer path.
How to Set Up Big Combos
Big combos usually require one of three setup types.
| Setup type | What it means | Best when |
|---|---|---|
| Direct chain | Your thrown die naturally follows matching values | Values are already lined up |
| Push chain | You push other dice into matching values | Board is crowded but not aligned |
| Rune-assisted chain | You use Gravity or Shuffle to fix the board | The board has value but bad spacing |
A strong combo turn often starts one turn earlier. If enemies are not attacking and field refresh is not close, you can spend a turn nudging dice into better places instead of forcing immediate damage.
Good setup turns include:
- pushing two 3s closer together
- moving a bomb die near another bomb die
- placing a heal die where it can be merged later
- saving Gravity for a cluster of matching values
- using a low-value die to reposition a high-value die
Best Runes for Chain Merging
Runes are not only defensive tools. Some of them are excellent for fixing combo turns.
| Rune | Chain merge value |
|---|---|
| Gravity Rune | Pulls nearby dice together and can turn a bad board into a merge board |
| Shuffle Rune | Randomly repositions dice when the board is stuck |
| Treasure-style Rune | Better when your combo will trigger coin or reward value |
| Amplify-style Rune | Strong when you already have a big damage turn ready |
| Protection Rune | Lets you take a setup turn without dying |
| Weakness Rune | Reduces pressure so you can finish a chain next turn |
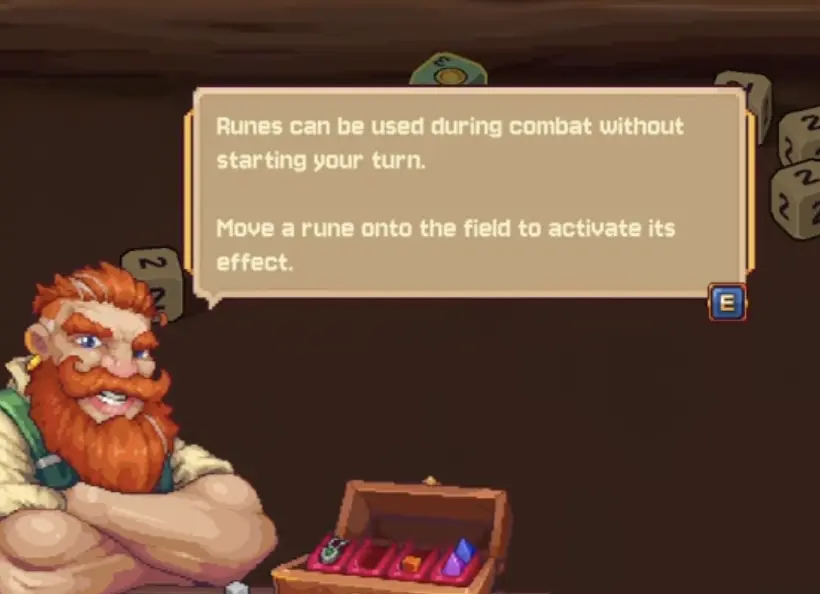
Gravity is best when the board already has matching values that are close but not connected. Do not use it just because it is available. Use it when pulling the board together creates an actual chain or saves an otherwise dead turn.
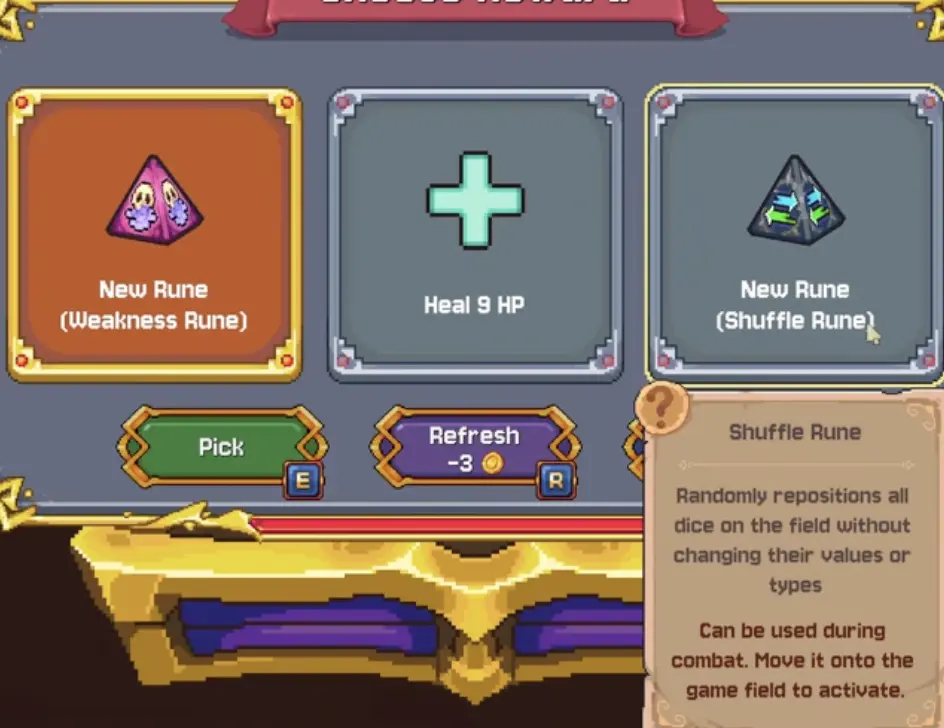
Shuffle is less predictable than Gravity, but it is valuable when the board is truly stuck. If your main dice are trapped, field refresh is not coming soon, and enemies are starting to pressure you, Shuffle can be better than wasting a throw on a tiny merge.
Best Relics for Chain Merging
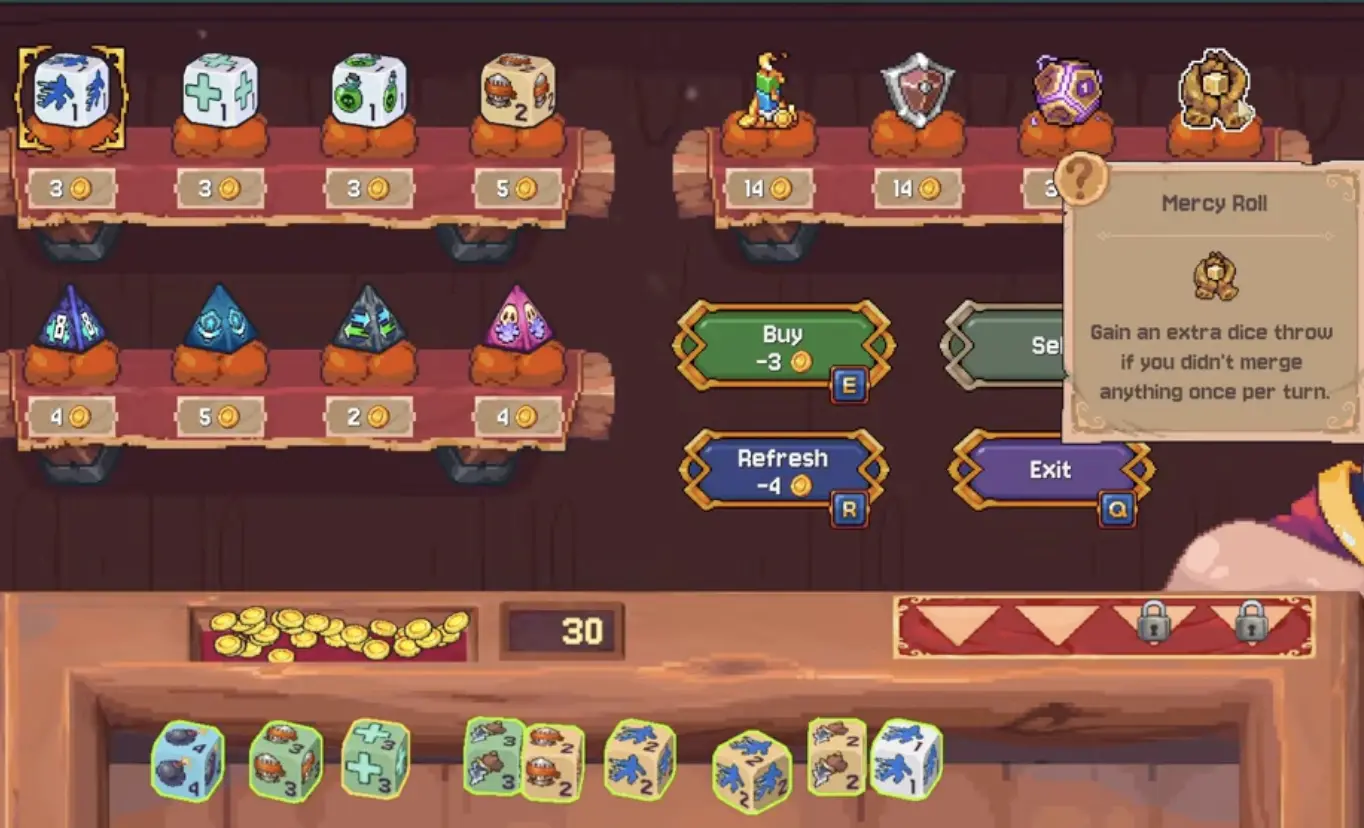
The best combo relics either add more dice, reward frequent merges, or forgive failed turns.
| Relic style | Why it helps |
|---|---|
| Dice generation | More dice means more possible matches |
| Extra throw effects | A failed merge is less punishing |
| Shop discount relics | Helps you buy more dice, runes, and relics |
| Coin healing relics | Turns economy merges into sustain |
| Direct attack scaling | Makes every successful chain hit harder |
| Shield or defense relics | Gives you time to set up instead of rushing |
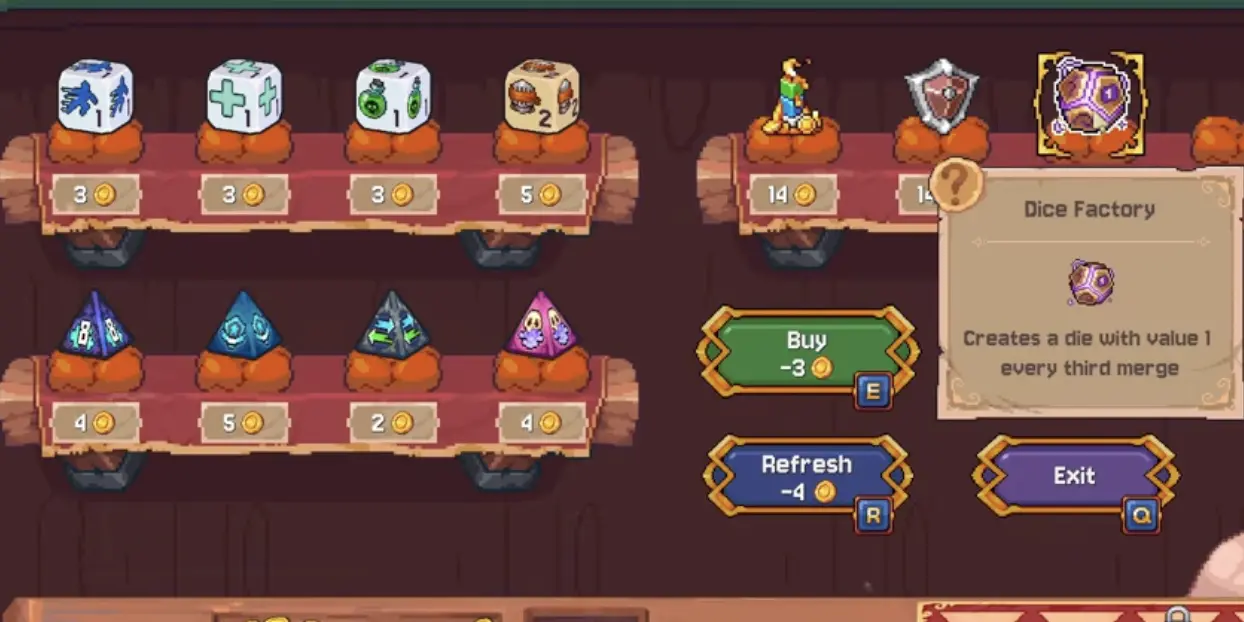
Dice Factory-style effects are especially useful because every extra die adds another possible match. Extra throw effects are also strong because chain strategies sometimes fail by a few pixels.
Field Refresh Timing
Field refresh is the natural enemy of greedy combo setup. If you spend too long preparing a huge chain, the board can reset before you cash it out.
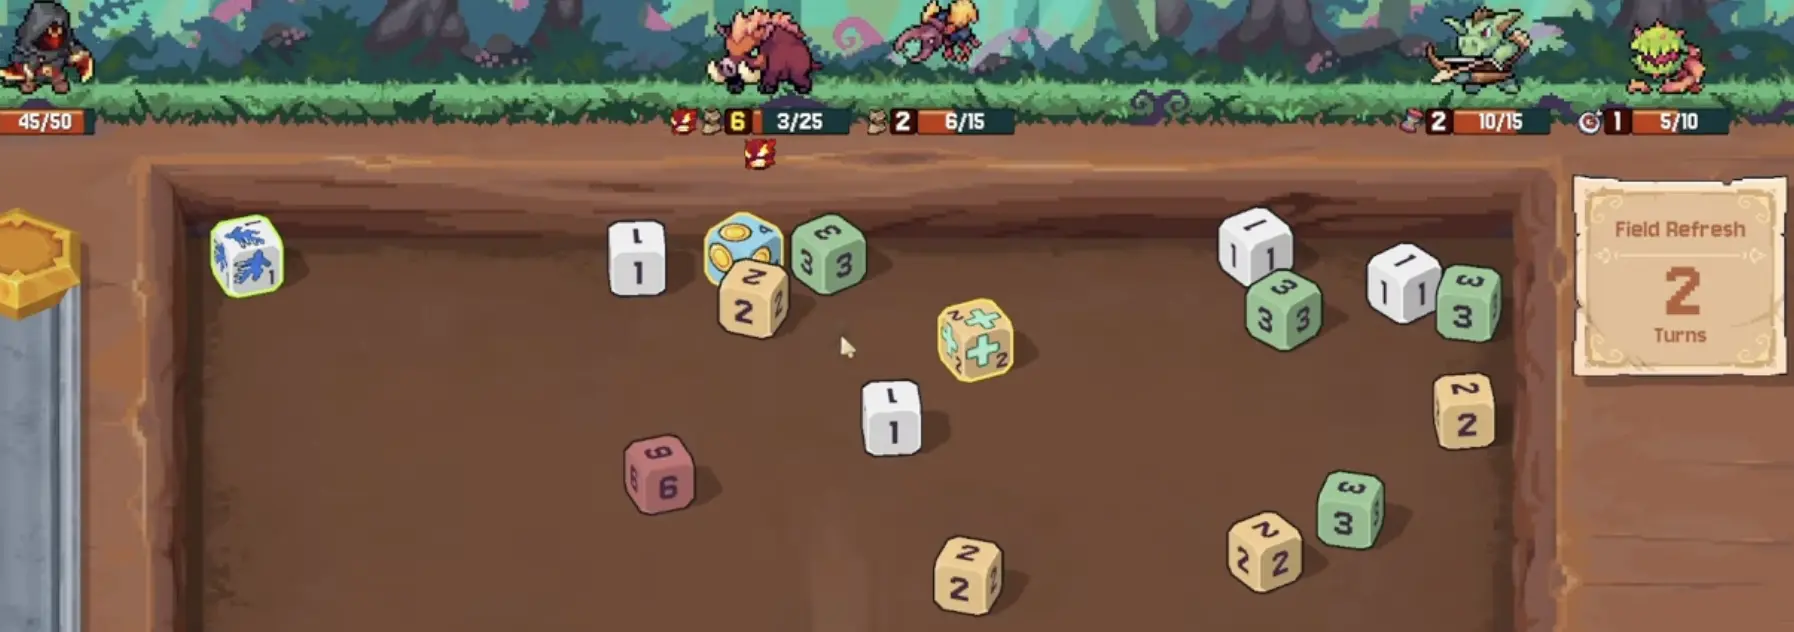
Use this rule:
| Turns before refresh | Best play |
|---|---|
| 4+ turns | You can build toward a large chain |
| 3 turns | Start shaping the board |
| 2 turns | Stop over-preparing and look for value |
| 1 turn | Take the best immediate merge, heal, coin, or defensive play |
| 0 turns | Re-read the new board before shooting |
If a refresh is one turn away, a medium combo is usually better than waiting for the perfect combo. Do not lose a 5-value or 6-value setup because you wanted one more bounce.
When Not to Chase a Big Merge
Big combos are fun, but they are not always correct.
Skip the greedy merge when:
- enemies are attacking this turn
- you have low HP
- the shot requires a tiny angle with no backup
- field refresh is about to happen
- the combo would trigger a dangerous enemy die
- you need dodge, healing, shield, or Weakness more than damage
- the boss is about to punish a failed turn
A winning Rune Dice player knows when to take a smaller guaranteed merge. The perfect chain does not matter if you die before it pays off.
Common Chain Merge Mistakes
| Mistake | Why it hurts |
|---|---|
| Only looking at the first match | You miss stronger second and third merges |
| Using too much force | Dice fly past the target or break the setup |
| Ignoring pushed dice | You miss easy indirect merges |
| Waiting too long before refresh | Your setup disappears |
| Chasing combos while low HP | You die with a good board still unfinished |
| Merging high-value dice randomly | You waste your path toward 7 or 8 |
| Using Gravity too early | You spend a strong rune on a weak board |
| Taking every dice reward | Too many unfocused dice make chains harder to control |
The most common mistake is greed. Chain merging is about value, not style. A clean 3-step merge that keeps you alive is better than a risky 6-step idea that misses.
Best Classes for Chain Merging
Every class benefits from chain merging, but some classes care about it more.
| Class style | Chain merge value |
|---|---|
| Rogue | Frequent merges help dodge, Blind Strike, Backstab, and Bomb turns |
| Mage | Bigger chains help high-synergy damage and healing effects come online |
| Warrior | Merge consistency helps shield and stun plans stay stable |
| Archer | High-value and high-combo goals are especially important once unlocked |
| Necromancer / Druid / Paladin / Bard | Better evaluated once you have more class-specific run data |
If you are still learning chain routes, Rogue is a good practice class because dodge can cover some mistakes.
FAQ
How do I chain merge in Rune Dice?
Merge into a matching value, then look for where the upgraded die will travel next. The best chains usually connect several values in a row, such as 1 into 1, then 2 into 2, then 3 into 3.
Does the thrown die have to be the one that merges?
No. You can shoot one die into another die and push that die into a match. This is one of the most important advanced techniques in Rune Dice.
What is a two-trigger turn?
A two-trigger turn is when your thrown die creates value before the main merge, such as nudging a useful die first and then rebounding into its matching value. It is a way to make one shot do two jobs.
How do I get an 8-value die?
Build upward instead of wasting mid-value dice. Protect 4s, 5s, and 6s, use Gravity or push angles when needed, and avoid throwing high-value dice into low-impact merges.
What is the best rune for big combos?
Gravity is usually the best combo rune because it can pull dice together and create merges that were not available before. Shuffle can also help when the board is completely stuck.
Is Mercy Roll good for chain merge builds?
Yes. Extra-throw effects are strong because combo-heavy turns sometimes fail by a tiny amount. A second throw can save the turn or add a new die to the board.
Is Dice Factory good?
Yes. Any effect that adds more dice increases your chance of finding matching values. More dice can make the board messier, but it also creates more chain opportunities.
Should I always chase the biggest combo?
No. If enemies are attacking, field refresh is close, or your HP is low, take the safer play. Big combos win runs only when you survive long enough to use them.
What should I read next?
Read the Rune Dice Boss Guide if you are losing after good combo runs, the Rune Dice Rogue Build Guide if you want a safe class for practicing merges, and the Rune Dice Class Unlock Guide if you are chasing unlock goals tied to big dice or combo turns.
Continue Reading in the Rune Dice Guide Cluster
This article is part of our Rune Dice strategy cluster. Use these guides to keep learning the game's core systems and routes.
Build a stronger Rune Dice Rogue with John Wickblade vs Romeo Deathbrew tips. Master Dodge stacks, Phantom Strike, best dice, runes, and relics to win.
Boss GuideRune Dice Boss Guide: How to Survive Boss Fights and Win More RunsLearn how to beat bosses in Rune Dice. Master boss mechanics, rune timing, route choices, and counter webbed dice to survive and win more runs.
ClassesRune Dice Beginner Guide: Tips, Runes & RelicsLearn how to win more runs in Rune Dice. Master dice merging, runes, relics, class choices, map routes, and boss prep with these essential beginner tips.
ClassesRune Dice Best Classes & Beginner Tier ListFind the best early classes in Rune Dice. Discover beginner tier lists, Rogue vs Mage tips, character variants, and Hard Mode picks to dominate your runs.