Thick As Thieves Game Guide
Thick as Thieves: Constables Guildhouse Map Guide
Thick as Thieves Constables Guildhouse guide: Find the Gem of Strength, Arcana, and Vistara Files with confirmed clue routes and exfil points.
The Constables Guildhouse is the first map where Thick As Thieves Game becomes a real contract run. You are not only stealing random valuables here. The map can ask you to track the Staff of Edinburg gems, follow clue notes across floors, and recover the Vistara Files from the Guildhouse office route.
This guide focuses on the concrete Guildhouse route anchors that actually help when you are lost: Gem of Strength, Gem of Arcana, Vistara Files, the basement route, the second-floor bullpen route, stash timing, and why exfil may not open yet.
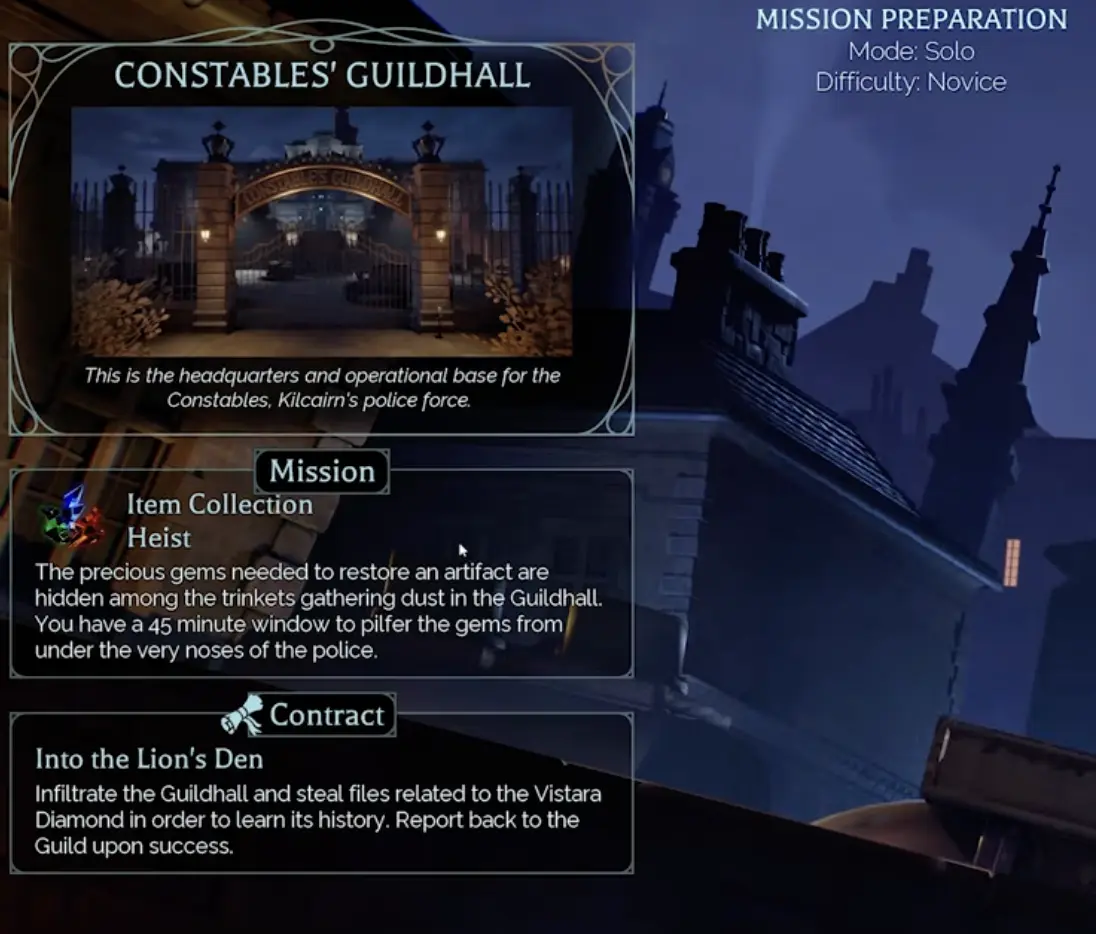
Constables Guildhouse shows both a Mission and a Contract. Read both before entering because the gem route and the file route do not send you to the same areas.
Fast Answer
| Player problem | Practical answer |
|---|---|
| You do not know what to collect | The Mission asks for Staff of Edinburg gems. The Contract asks for Vistara Files. |
| You need the Gem of Strength | Follow the clue from wash-up to basement hall. The pickup prompt says [HOLD] TAKE GEM OF STRENGTH. |
| You need the Gem of Arcana | Follow the clue to the First Floor west wing. Search wooden display furniture / cabinet-style trinket surfaces. |
| You need the Vistara Files | Go to the second floor, route toward the bullpen, and check the desk / counter surface with the prompt [HOLD] TAKE VISTARA FILES. |
| You cannot identify Sergeant Campbell’s desk | Use the bullpen clue: start with the middle desk cluster, then sweep nearby desks and paper-covered surfaces. |
| You cannot leave | Exfil depends on objective progress. Optional loot does not open the exit. |
| You are carrying valuable loot | Stash before going deeper into the basement, second floor, turret lanes, or Hauntstable pressure. |
| The timer is stressing you out | The Guildhouse note gives a 45-minute work window and an 8-minute final escape window once the escape route appears. |
Read next:
- Contracts, Exfil, Clues, and Objective Progress Guide
- How to Deal With Hauntstables and Security Traps in Thick As Thieves Game
Mission vs Contract: Do Not Mix Them Up
The Guildhouse run can show both a Mission and a Contract.
| Label | What it says | Where it sends you |
|---|---|---|
| Mission: Item Collection Heist | The precious gems needed to restore an artifact are hidden among the trinkets in the Guildhall. | Trinket rooms, display objects, clue notes, basement hall, first floor west wing. |
| Contract: Into the Lion’s Den | Infiltrate the Guildhall and steal files related to the Vistara Diamond. | Second floor, offices, bullpen, Sergeant Campbell desk route. |
This is the main Guildhouse confusion. If you pick up money, a statue, or another valuable item and the objective does not update, it was probably optional loot, not the required target.
Guildhouse Timer: 45 Minutes, Then 8 Minutes to Escape
The Guildhouse note gives the exact timing rule:
- You have 45 minutes to work.
- Once the escape route appears, it remains for 8 minutes before collapsing.
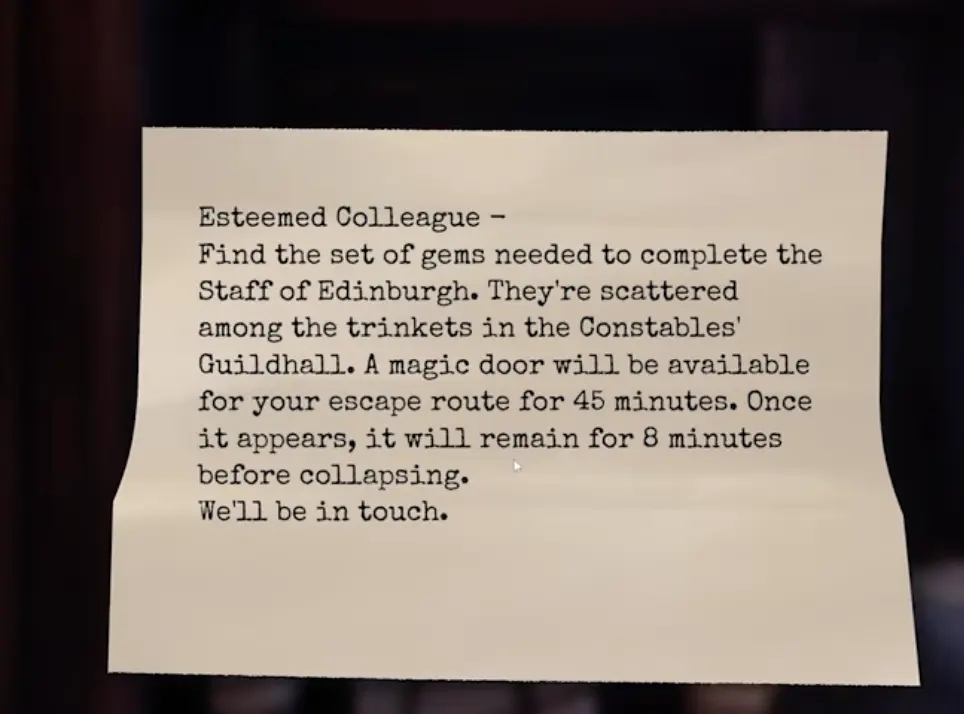
The Guildhouse note confirms both the 45-minute mission window and the 8-minute final escape window.
Do not use the timer as an excuse to sprint everywhere. Use it as a reason to follow clue locations instead of clearing every room.
Staff of Edinburg Gems: Confirmed Locations
The Staff of Edinburg route is clue-driven. The important thing is to stop searching random loot once a clue gives you a floor, wing, or hall.
| Required item | Confirmed clue | Search area |
|---|---|---|
| Gem of Strength | It was left in the wash-up, then moved to the basement hall. | Basement hall route. Look for the glowing green gem pickup. |
| Gem of Arcana | The note says the Gem of Arcana is in the First Floor west wing. | First Floor west wing. Search wooden display furniture and cabinet-style trinket surfaces. |
Gem of Strength Location
The Gem of Strength is in the basement hall route of Constables Guildhouse. After you find the clue saying it was moved from the wash-up to the basement hall, switch to the basement floor and head toward the longer hall / right-side basement route instead of staying in the Kitchen or Office rooms.
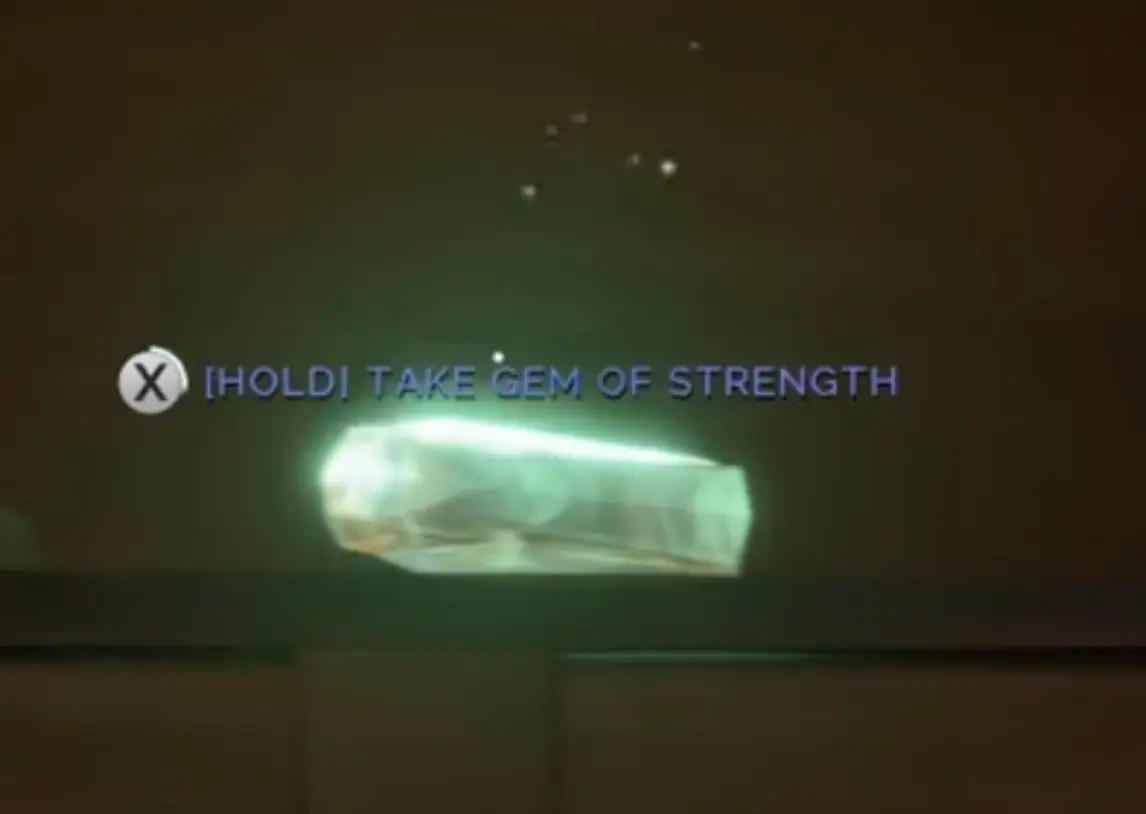
The pickup prompt confirms the target: [HOLD] TAKE GEM OF STRENGTH.
Use the basement map to orient yourself. The useful route is not just the labeled Kitchen or Office. The Gem of Strength search should push you toward the basement hall path, especially the longer hall section shown on the basement layer.
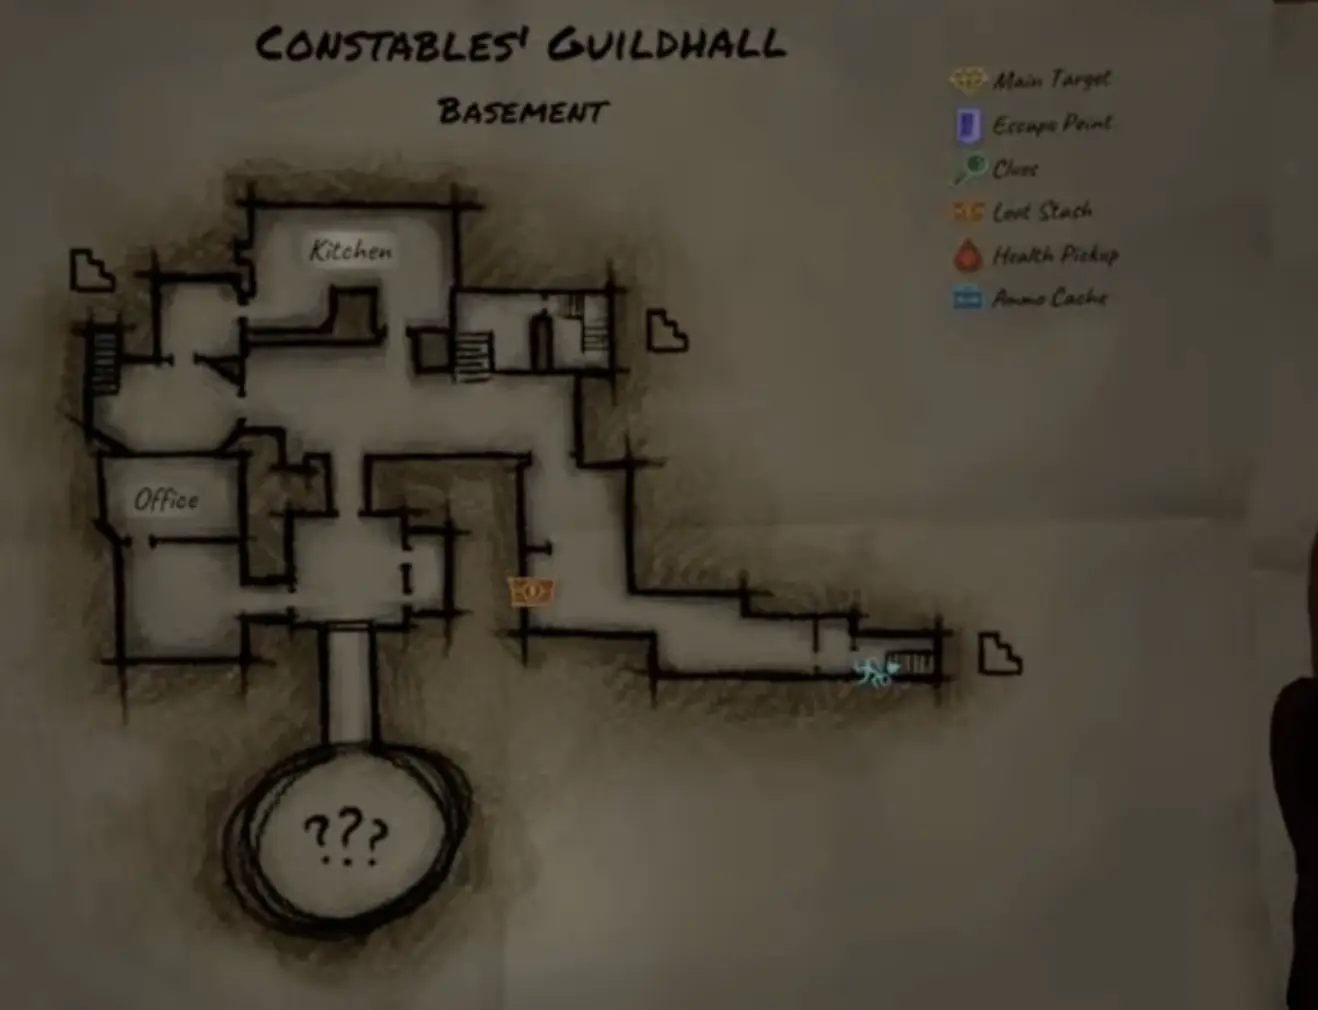
Use the basement map layer when following the Gem of Strength clue. If you are still searching upstairs, you are on the wrong floor.
Gem of Strength Checklist
- Find the clue that mentions wash-up and basement hall.
- Switch the map to Basement.
- Do not waste time in random first-floor rooms.
- Search the long basement hall route and nearby object surfaces.
- Look for the glowing green gem prompt: [HOLD] TAKE GEM OF STRENGTH.
Gem of Arcana Location
The Gem of Arcana clue points to the First Floor west wing. Once you find that clue, stop searching the current area and route to the west side of the first floor.
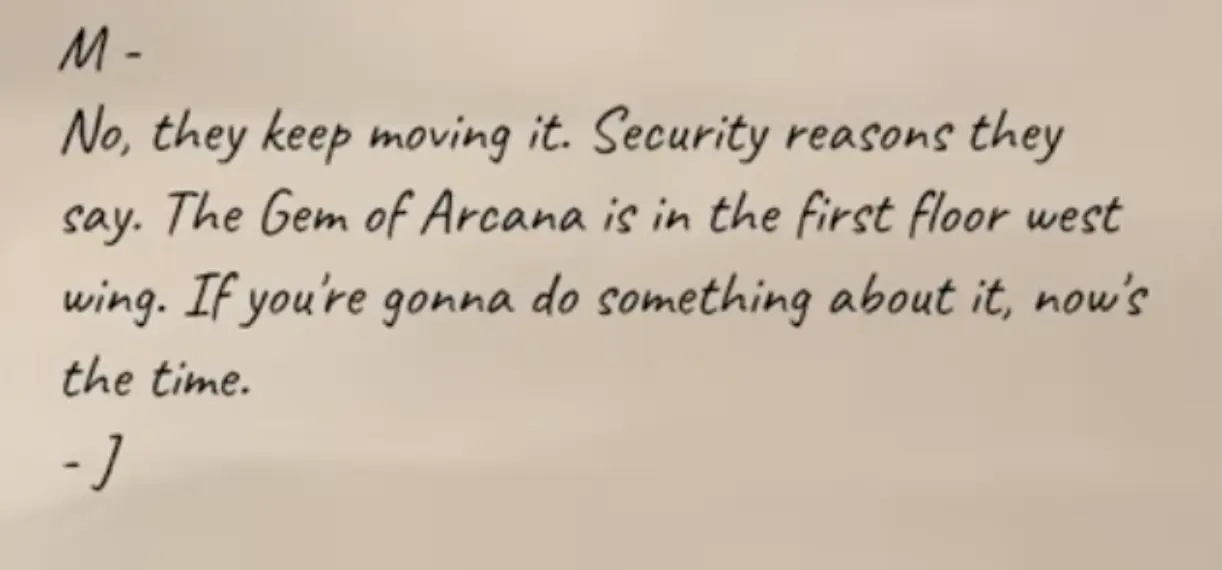
The Arcana clue is direct: the Gem of Arcana is in the First Floor west wing.
The pickup appears near wooden display furniture / cabinet-style trinket surfaces. Look for the bright gem with the prompt [HOLD] TAKE GEM OF ARCANA.
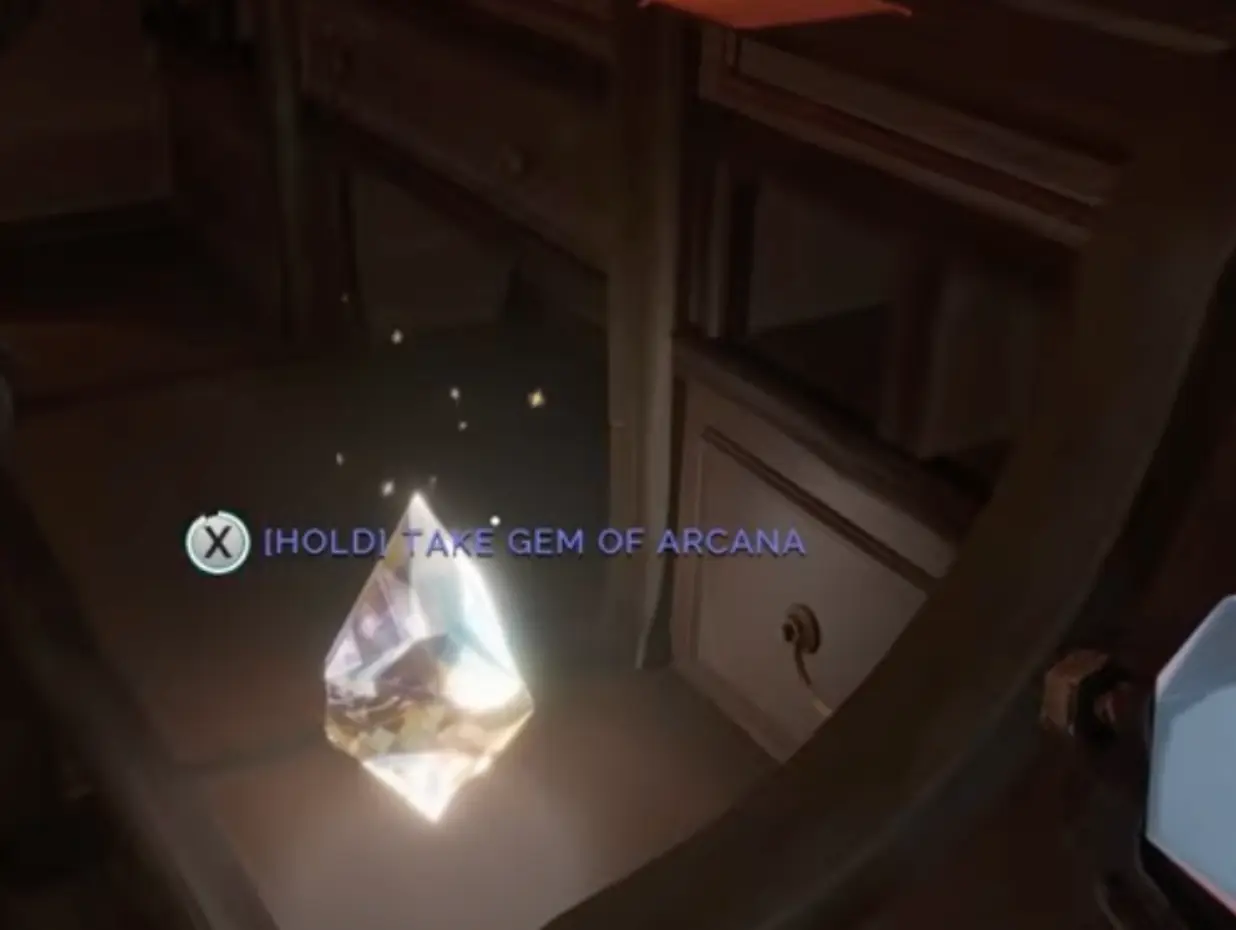
If you see this prompt, you found the correct Arcana target, not optional loot.
Gem of Arcana Checklist
- Find the note that says First Floor west wing.
- Switch to the first-floor layer if needed.
- Route west, not basement or second floor.
- Search wooden cabinets, display-style furniture, and trinket surfaces.
- Confirm the pickup prompt says [HOLD] TAKE GEM OF ARCANA.
Vistara Files Location
The Vistara Files route is separate from the Staff gem route. The file clues point upstairs.
A clue says the officers on the second floor are assembling the Vistara briefing for the Chief Constable. That means you should stop searching basement trinkets if your active goal is the files.
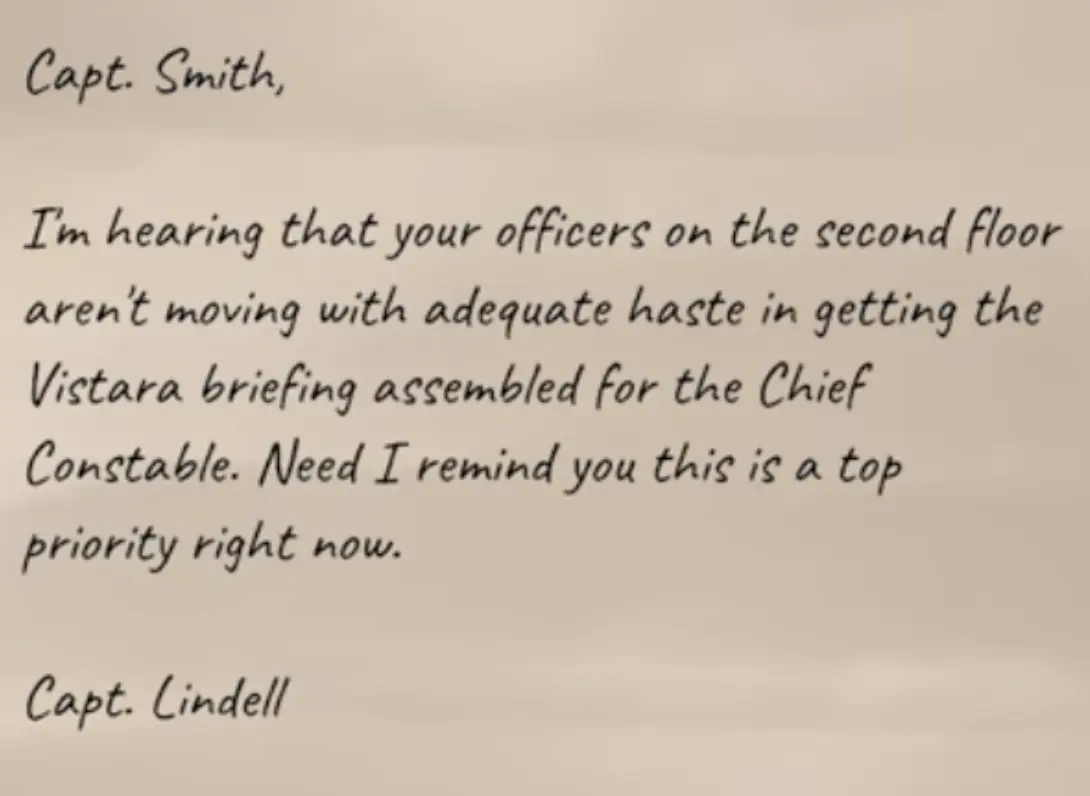
The Vistara route starts on the second floor, not in the basement gem route.
On the second floor, use the map route between the Archives, Chief Constable’s Office, and Bullpen. The bullpen is the key search area for the file chain.
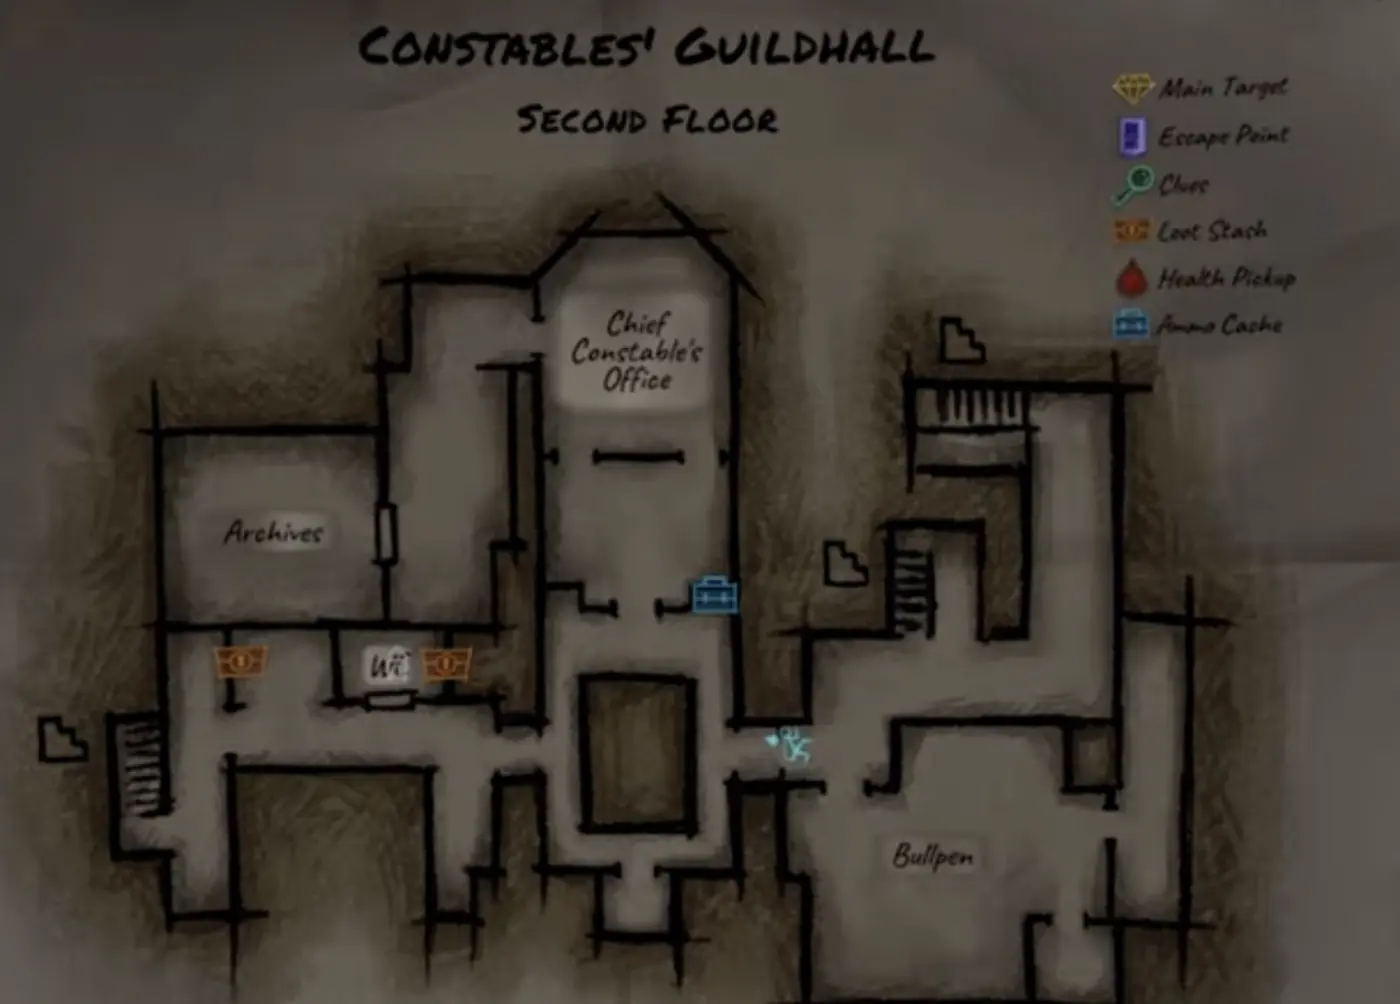
The second floor map shows the Archives, Chief Constable’s Office, and Bullpen. Use these as your Vistara Files route anchors.
The final pickup appears on a desk / counter surface with the prompt [HOLD] TAKE VISTARA FILES.
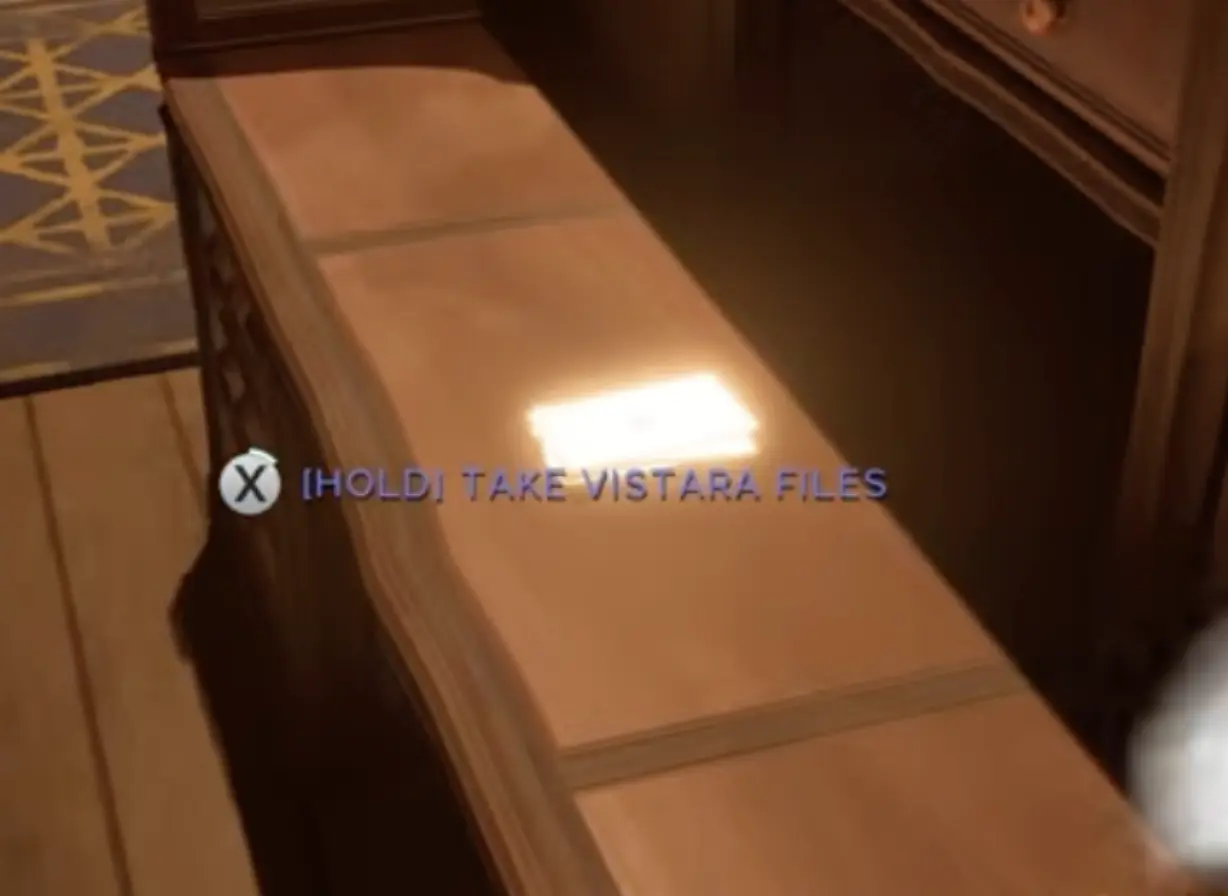
This is the final Vistara Files pickup. If the prompt says TAKE VISTARA FILES, this is the contract item.
Vistara Files Checklist
- Follow the clue toward the second floor.
- Open the second-floor map layer.
- Route through the Archives / Chief Constable’s Office / Bullpen area.
- In the Bullpen, start with the middle desk cluster.
- Check desk and counter surfaces for the prompt [HOLD] TAKE VISTARA FILES.
- After pickup, watch for the objective update and begin routing toward exfil.
Sergeant Campbell’s Desk and the Bullpen
A bullpen clue says Sgt. Campbell complained that desks in the middle of the bullpen are causing a lot of noise. Treat this as a search hint.
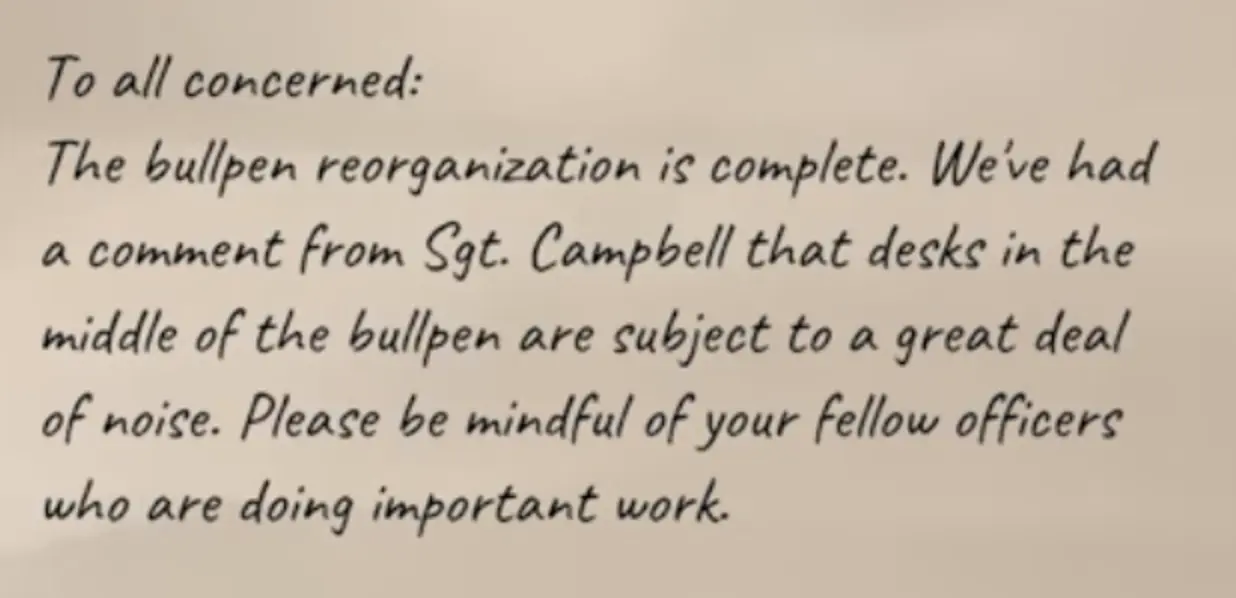
The bullpen clue tells you where to start: check the middle desk cluster first.
If you are looking for the Vistara Files, do this:
- Reach the second floor.
- Enter or route toward the Bullpen.
- Check the middle desk cluster first.
- Sweep nearby desks, counters, and paper-covered surfaces.
- Look for [HOLD] TAKE VISTARA FILES.
Use the Floor Selector
Guildhouse objectives often send you between multiple floors. If a clue says basement hall, first floor west wing, or second floor, switch map layers instead of searching the current floor longer.
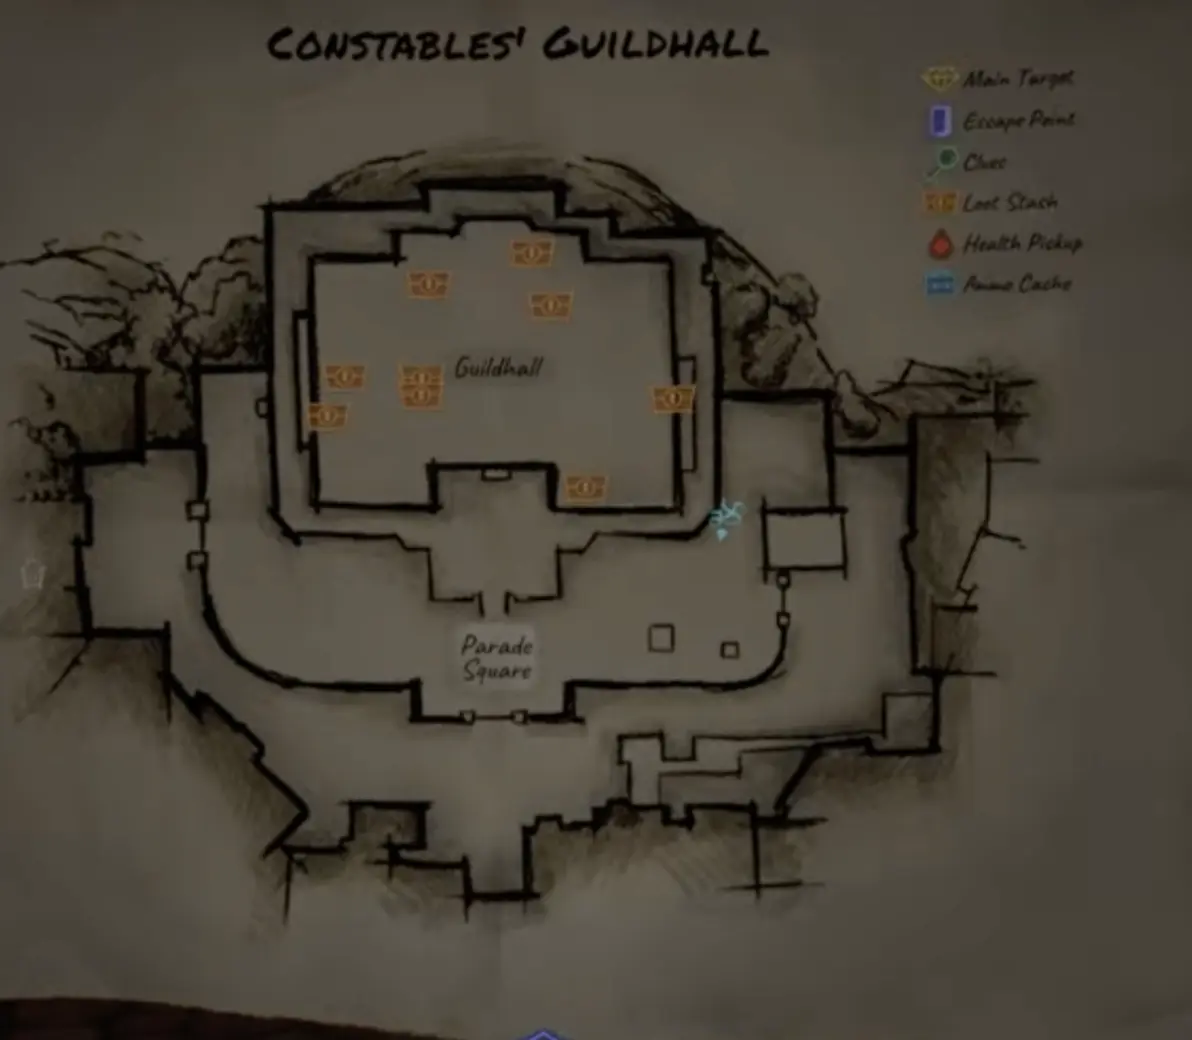
Use the floor selector to move between Rooftop, Second Floor, First Floor, and Basement maps.
This is especially important because the gem route and file route send you to different floors.
| Clue says… | Map layer to check |
|---|---|
| Basement hall | Basement |
| First Floor west wing | First Floor |
| Second floor / Vistara briefing | Second Floor |
| Bullpen | Second Floor |
| Rooftop route | Rooftop |
Entry Points and First Route
There is more than one way into the Guildhouse. The obvious forward route can work, but it is not always the safest route. If the front path is lit, watched, or covered by security, look for side routes or vertical options.
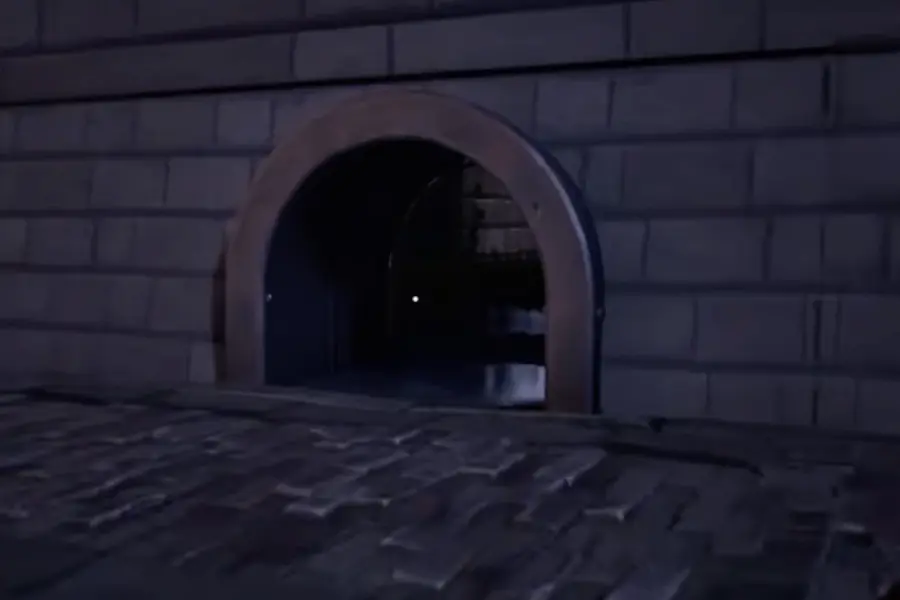
Do not assume the first visible entrance is the only route. The Guildhouse has alternate ways in.
Use the route that matches your current objective:
| Goal | Better route priority |
|---|---|
| Gem of Strength | Find basement access and route toward the basement hall. |
| Gem of Arcana | Stay focused on first floor west wing. |
| Vistara Files | Route upstairs toward the second floor and Bullpen. |
| Optional loot | Only take it if it is on your route or near a safe stash. |
Security Pressure in Guildhouse
Guildhouse security becomes dangerous when several systems overlap: guards, turrets, magic-eye pressure, trap lines, Hauntstables, and bright central routes.
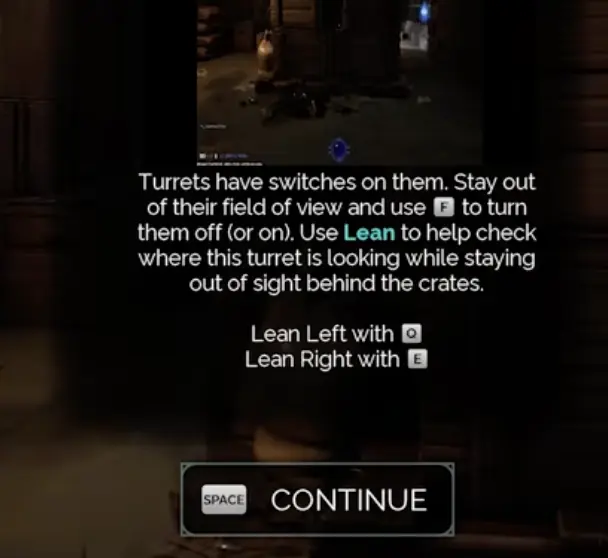
Turrets are route blockers. Stay outside the field, watch the angle, then disable or bypass from a safe position.
Before committing to a required pickup, identify one recovery spot near your route: a dark corner, side room, door break, stair route, or path back to a floor transition. Do this before the alert starts.
Stash Timing in Guildhouse
The stash sends loot back to your hideout. Use it when you have value and the next route is risky.
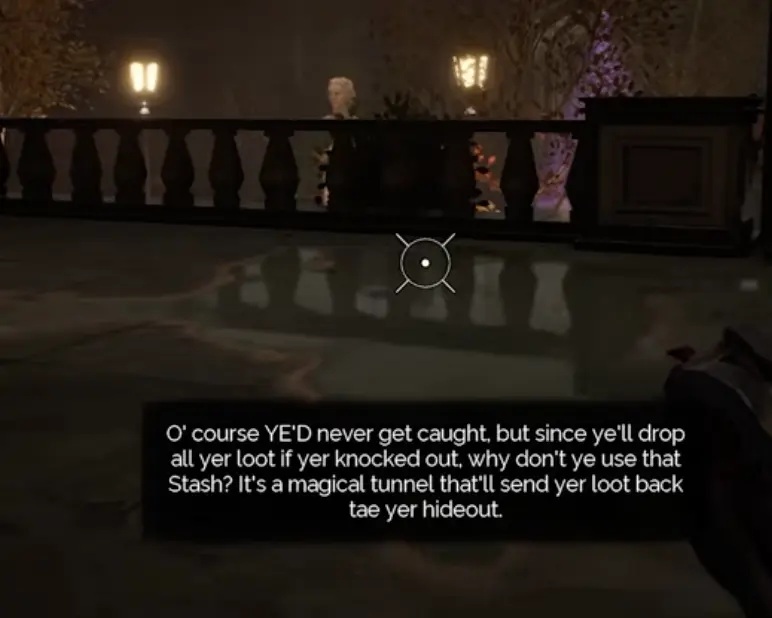
Stash before taking a deeper risk, especially if you are carrying valuable loot.
Good Guildhouse stash moments:
- after a valuable trinket pickup;
- before pushing toward the basement hall;
- before going upstairs for the Vistara Files;
- before crossing turret / magic-eye pressure;
- before entering Hauntstable pressure;
- before the final exfil route if you are carrying value.
Do not waste the stash on tiny early loot if you still need to search several floors.
Exfil: Why You Still Cannot Leave
If exfil is not ready, the problem is usually missing objective progress.
Check these before blaming the exit:
- Did the Gem of Strength pickup update the objective?
- Did the Gem of Arcana pickup update the objective?
- Did you collect all required Staff of Edinburg components?
- Did you pick up the Vistara Files if working on Into the Lion’s Den?
- Did you accidentally pick up optional loot instead of a required item?
- Did the objective indicator tell you the job is complete?
If the prompt does not name the required item, it may just be optional loot.
Recommended First Guildhouse Route
Use this as a practical learning route, not a fixed speedrun path.
| Step | Action |
|---|---|
| 1 | Read both Mission and Contract on the preparation screen. |
| 2 | Decide whether you are prioritizing Staff gems or Vistara Files. |
| 3 | If you are on Gem of Strength, switch to the basement route. |
| 4 | If you are on Gem of Arcana, route to First Floor west wing. |
| 5 | If you are on Vistara Files, go to the second floor and Bullpen. |
| 6 | Use the floor selector whenever a clue names a different floor. |
| 7 | Stash meaningful loot before moving into a new danger layer. |
| 8 | Once a required pickup updates the objective, stop searching that area. |
| 9 | Avoid optional loot if the final escape window is active. |
| 10 | Leave before the 8-minute final window becomes a panic run. |
FAQ
Where is the Gem of Strength in Constables Guildhouse?
The Gem of Strength is in the basement hall route. Use the basement map layer and look for the glowing green pickup prompt [HOLD] TAKE GEM OF STRENGTH.
Where is the Gem of Arcana?
The Gem of Arcana is in the First Floor west wing. Search wooden display furniture and cabinet-style trinket surfaces until you find the prompt [HOLD] TAKE GEM OF ARCANA.
Where are the Vistara Files?
The Vistara Files are on the second floor route, connected to the Bullpen / Sergeant Campbell desk clue chain. Look for the prompt [HOLD] TAKE VISTARA FILES on a desk or counter surface.
Where is Sergeant Campbell’s desk?
Start in the middle desk cluster of the Bullpen, then sweep nearby desks and paper-covered surfaces. The bullpen clue specifically points attention to the middle desks.
Why is my Guildhouse exfil not opening?
You probably have not completed the required objective yet. Optional loot does not open exfil. Confirm that the prompt or objective text updated after collecting a required gem or the Vistara Files.
How long do I have in the Guildhouse mission?
The confirmed Guildhouse note gives you 45 minutes. Once the escape route appears, it remains for 8 minutes before collapsing.
Should I loot before finishing the gems or files?
Only loot if it is safe and near your route. If you are still missing a required gem or the Vistara Files, solve the clue route first.
Continue Reading in the Thick As Thieves Game Guide Cluster
This article is part of our Thick As Thieves Game strategy cluster. Use these guides to keep learning the game's core systems and routes.
Learn how to unlock Chameleon in Thick As Thieves Game, where to check the Wardrobe, what counts as guild progress, and what to do before and after Chameleon unlocks.
Enemy GuideThick As Thieves Game: Hauntstables, Turrets, Magic Eyes, and Security Tools GuideLearn how to survive Hauntstables, bypass turrets, handle magic eyes, and use Slithersap, Smoke Bomb, and Pickpocket Fairy in Thick As Thieves Game.
Strategy GuideThick as Thieves: Contracts, Exfil & Clues GuideLearn how contracts, item collection heists, clue chains, exfil routes, stash points, failure penalties, and difficulty changes work in Thick As Thieves Game.