Game Hub
Alabaster Dawn Guide: Beginner Tips, Trial of Aether, Builds, Bosses, and Early Access FAQ
Master Alabaster Dawn Early Access! Our complete guide covers essential beginner tips, Trial of Aether puzzle solutions, optimal builds, and early bosses.
Alabaster Dawn looks simple in the first hour, but it is not a simple top-down action RPG.
The real structure is built around 4 elements, 8 weapons, weapon-specific Growth Charts, food boosts, gems, Divine Arts, and puzzle rooms that test whether you understand your tools. If you only treat the early sword and crossbow as basic attack buttons, the first real dungeon and bosses will feel much harder than they need to be.
This hub is the starting point for our Alabaster Dawn guides. It gives you the early route, explains the systems that matter, and links out to deeper pages for Trial of Aether, builds, bosses, and exploration.
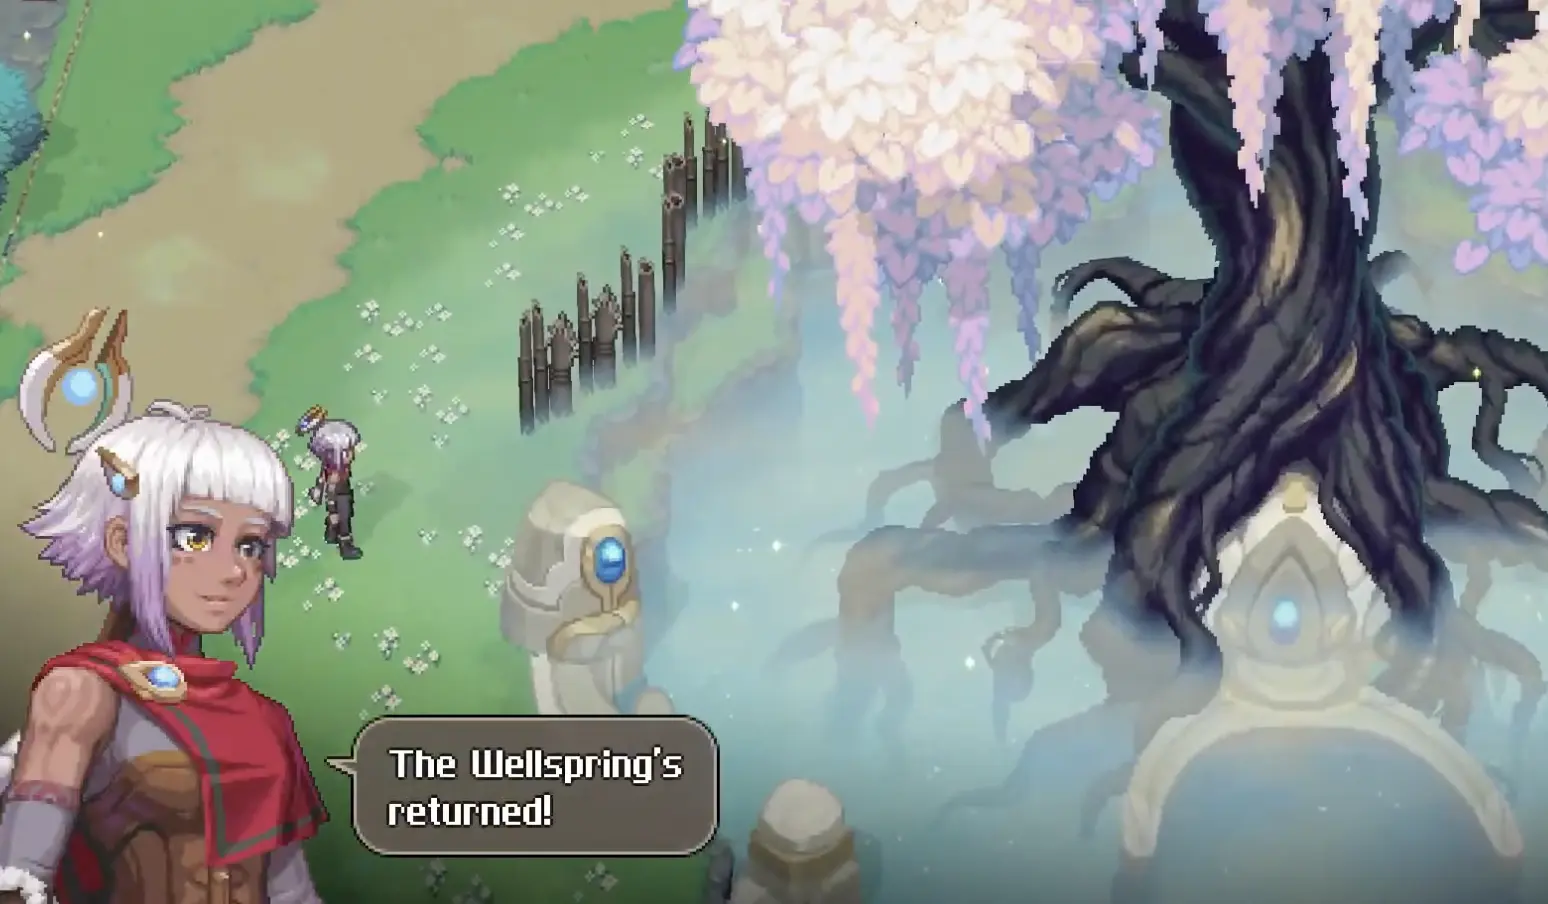
Guide Roadmap
| Need help with | Go here |
|---|---|
| Combat, healing, parry timing, Growth Chart basics | Beginner Guide |
| Aether panels, purple orbs, B5 push-ball puzzle, Dirty Quill | Trial of Aether Guide |
| Early weapon setup, gems, food boosts, Palate Level | Builds, Gems, and Food Guide |
| Inferna Vespa, turtle enemies, boss preparation | Boss Guide |
| Side quests, Community Level, rebuilding, shortcuts | Exploration and Side Quests Guide |
What Alabaster Dawn Actually Is
Alabaster Dawn is built around layered action RPG progression. The opening teaches one weapon and one ranged tool at a time, but the long-term structure is much wider than that.
| System | What it means for players |
|---|---|
| 4 elements | Enemies and puzzles increasingly expect elemental answers, not just raw damage. |
| 8 weapons | Each element can slot two weapons, giving you melee and ranged options. |
| Weapon XP | Weapons grow separately, so spreading usage too thin can delay important upgrades. |
| Growth Chart | Each weapon has its own upgrade path, Combat Arts, and gem slots. |
| Divine Arts | Elemental skills that consume charge and help finish tougher enemies. |
| Gems | Equipment modifiers that shape damage, defense, break, resistance, and utility. |
| Food and boosts | Cooked meals provide combat boosts and scale through Palate Level. |
| Puzzle dungeons | Rooms often require a specific weapon, element, projectile, or team mechanic. |
| Rebuilding | Side quests and offerings can change routes, settlements, and rewards. |
The most important early lesson is this:
Do not level everything equally just because you can. Pick a reliable melee weapon, a reliable ranged weapon, and use the rest when the room asks for them.
Early Weapon System: Do Not Think in “One Best Weapon”
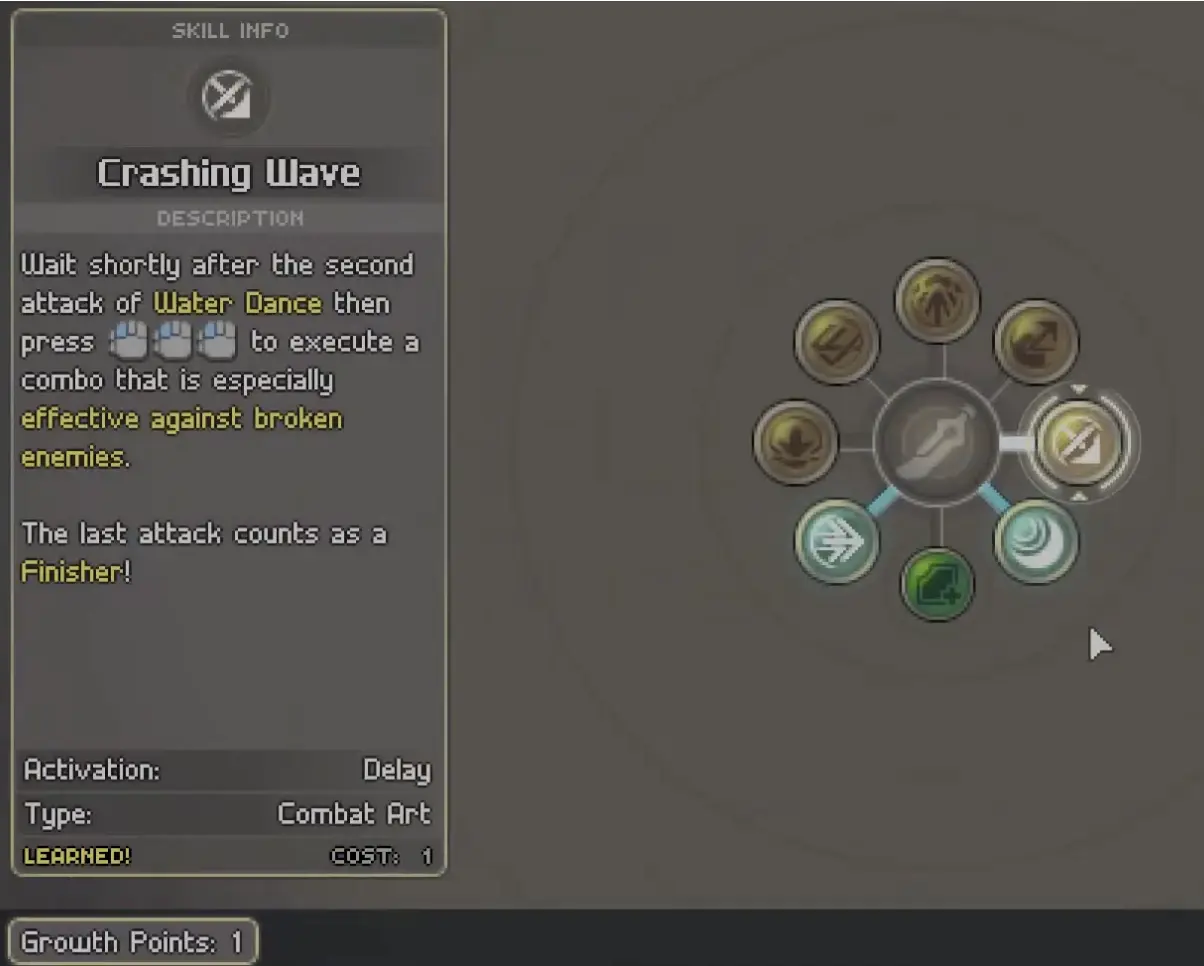
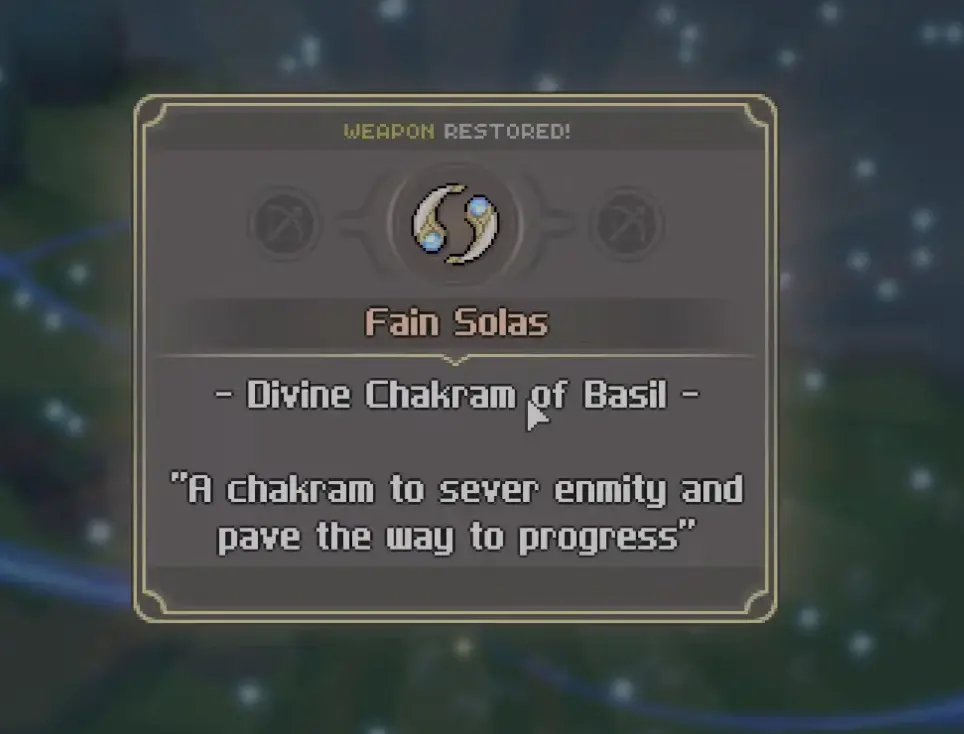
The first weapons you meet are the Claio Solas sword and Bogha Solas crossbow. The hammer, Ortrom Solas, appears early enough to teach you that weapons are not cosmetic swaps. Later, the Chakram-style ranged weapon, Fain Solas, becomes important for puzzle interaction and object-catching.
| Weapon role | Early example | What it teaches |
|---|---|---|
| Fast melee | Claio Solas / Sword | Safe basic pressure, combo timing, break follow-up. |
| Ranged pressure | Bogha Solas / Crossbow | Orbs, switches, flying enemies, safe chip damage. |
| Heavy impact | Ortrom Solas / Hammer | Shells, rocks, heavier break pressure, commitment. |
| Puzzle ranged tool | Fain Solas / Chakram | Catching objects, ring puzzles, later room mechanics. |
The game’s full combat plan is 4 elements × 2 weapons per element, not just sword and crossbow. Early guides that only talk about the first two weapons miss why the system opens up later.
Weapon XP Planning
Each weapon has its own progression, so early usage matters. The goal is not to ignore new weapons forever. The goal is to avoid spreading XP before your main tools can actually carry a fight.
| Stage | Recommendation | Why |
|---|---|---|
| First route | Focus on Claio Solas and Bogha Solas. | Sword + crossbow covers basic melee, ranged switches, flying targets, and safe pressure. |
| Before your first major boss | Have at least one reliable Combat Art on your main melee weapon. | A boss becomes much easier when you have a real punish option, not just basic attacks. |
| After getting the hammer | Add hammer when rocks, shells, or heavy-break enemies appear. | Hammer is a problem-solving weapon, not just a damage toy. |
| After your main pair is stable | Test new weapons when your main melee and ranged tools each have at least one useful upgrade. | This lets you learn new weapons without weakening your core setup. |
| Before Trial of Aether | Keep a dependable ranged option ready. | Aether puzzles and orb targets punish players who underuse ranged attacks. |
A good early rule is:
Do not seriously rotate a new weapon into your main loadout until your core melee and ranged weapons each have at least one useful Growth Chart unlock.
Combat Basics That Matter
Alabaster Dawn is fast, but it is not a pure mash game.
The combat has three important layers:
| Layer | Why it matters |
|---|---|
| Break pressure | Breaker and break-focused moves help stagger enemies faster. |
| Animation commitment | Heavy attacks and charged strings can lock you in long enough to get punished. |
| Divine Shield / Guard timing | Well-timed guard can nullify or reflect certain incoming attacks. |
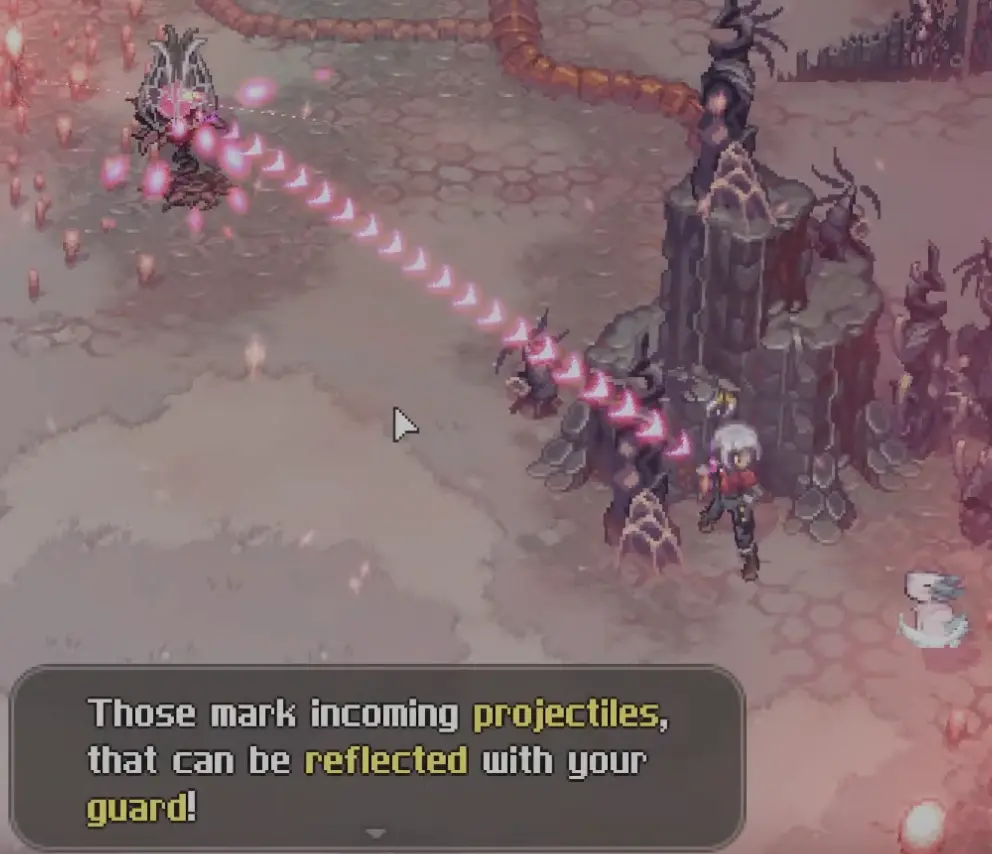
Guard, Parry, and Projectile Reflection
When the game marks incoming projectiles with clear warning arrows, check whether they can be reflected. A normal dodge keeps you alive, but a good guard can turn the enemy’s attack into your punish window.
Use this rule:
| Enemy action | Best response |
|---|---|
| Slow melee lunge | Dodge behind or punish after the whiff. |
| Red-arrow projectile | Guard / Divine Shield if reflectable. |
| Shell or armored target | Use hammer or break-focused pressure. |
| Enemy is broken | Spend your strongest safe combo or finisher. |
| Boss is airborne or moving | Use ranged pressure instead of chasing. |
Animation Commitment
If you keep getting hit during hammer swings or charged attacks, that is usually not “bad hit detection.” It is commitment.
Heavy attacks are strong because they commit you. Use them when:
- the enemy just whiffed,
- the enemy is broken,
- the projectile pattern has ended,
- or the target is locked into its own animation.
If the enemy is still active and close to you, use shorter strings. Save slow charged attacks for real openings.
Element and Enemy Response Quick Reference
Alabaster Dawn is not only about raw attack power. Many fights become easier when you answer the enemy type correctly.
This table is a practical early-game reference, not a final endgame weakness chart.
| Enemy or obstacle type | First thing to try | Why it helps |
|---|---|---|
| Flying enemies | Ranged weapon pressure | Chasing with melee wastes stamina and positioning. |
| Shielded or hard-shell enemies | Hammer or break-focused attacks | Heavy impact and Breaker pressure open them faster. |
| Projectile enemies | Divine Shield / timed guard | Some projectiles can be reflected instead of dodged. |
| Purple orb / Aether targets | Aether-charged ranged shots | Normal shots may not trigger the mechanism. |
| Lightning-weak enemies in Trial of Aether | Aether or lightning-charged ranged attacks | These enemies are built to teach elemental usage. |
| Groups of small enemies | Wide melee Combat Arts | Safer than trying to pick them off one by one. |
| Bosses during recovery windows | Short, reliable punish combos | Long committed attacks are risky unless the boss is broken. |
If an enemy feels too tanky, do not assume your level is too low immediately. First check whether the enemy is asking for a specific weapon, element, or break tool.
Healing, Resting, and Recovery
Healing is simple, but many players waste it early.
| Recovery tool | How to use it |
|---|---|
| Healing Bulbs | Your emergency heal during routes and bosses. |
| Healing plants | Hit them to restore health or refill bulbs when available. |
| Short Rest | Restores health and bulbs, but can respawn enemies and plants. |
| Food boosts | Cook before difficult routes or bosses. |
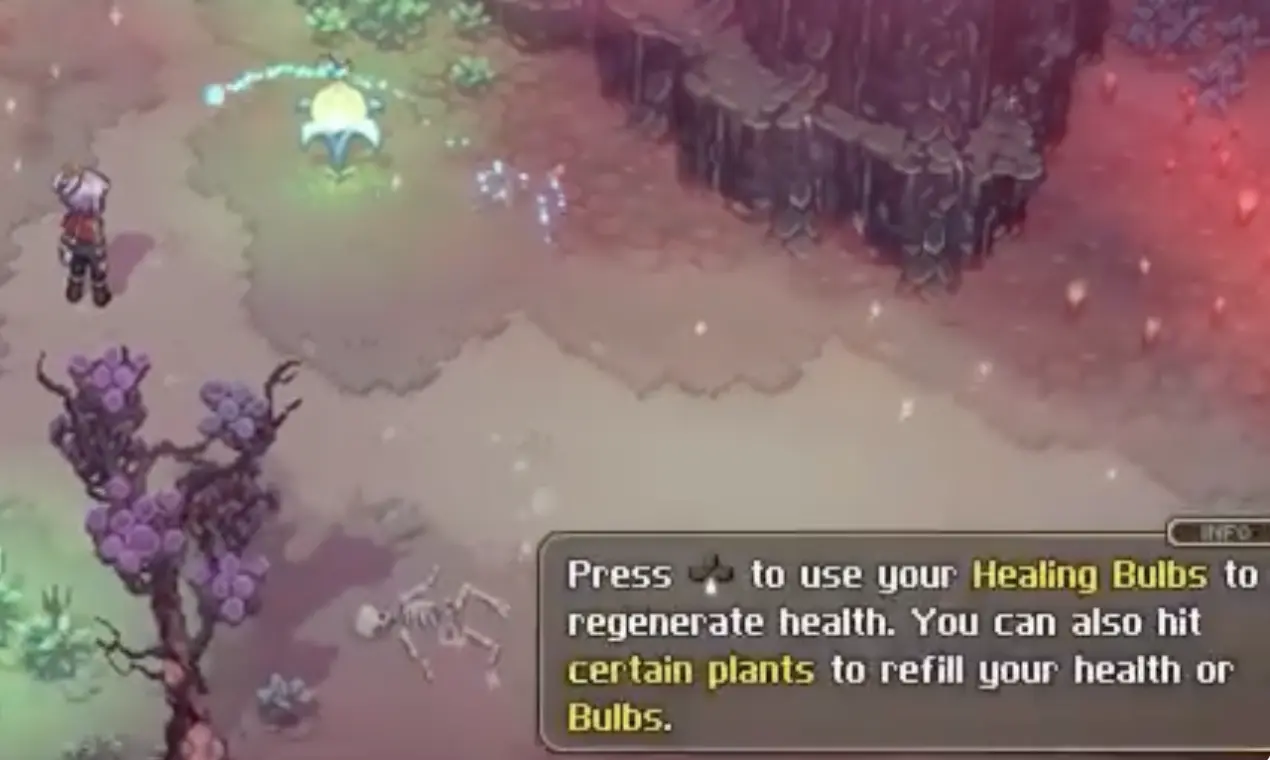
Do not use healing bulbs just because you took one small hit. Save them for bad rooms, boss attempts, or long stretches without a rest point.
Growth Chart, Breaker, and Upgrade Priorities
The Growth Chart is not only a stat board. It is where weapons become real tools.
Early nodes can unlock:
- weapon-specific Combat Arts,
- minor gem slots,
- stats such as strength, armor, and life,
- Breaker-related pressure,
- stamina or defensive comfort,
- and better options after parry or charged attacks.
| If you are struggling with… | Prioritize |
|---|---|
| Taking too much damage | Max life, armor, Tenacity-style defensive nodes. |
| Enemies not breaking | Breaker and break-focused Combat Arts. |
| Bosses escaping your combos | Safer, shorter punish moves instead of long strings. |
| Ranged enemies | Crossbow upgrades and projectile control. |
| Shell enemies | Hammer access and impact-focused moves. |
| Empty gem slots | Unlock minor slots only if you have useful gems to equip. |
A good early Growth Chart plan is not “all damage.” It is enough survival to make mistakes, enough break to create openings, and enough weapon identity to solve rooms faster.
Gems, Artificer, and Early Build Direction
Gems are where your build starts becoming specific.
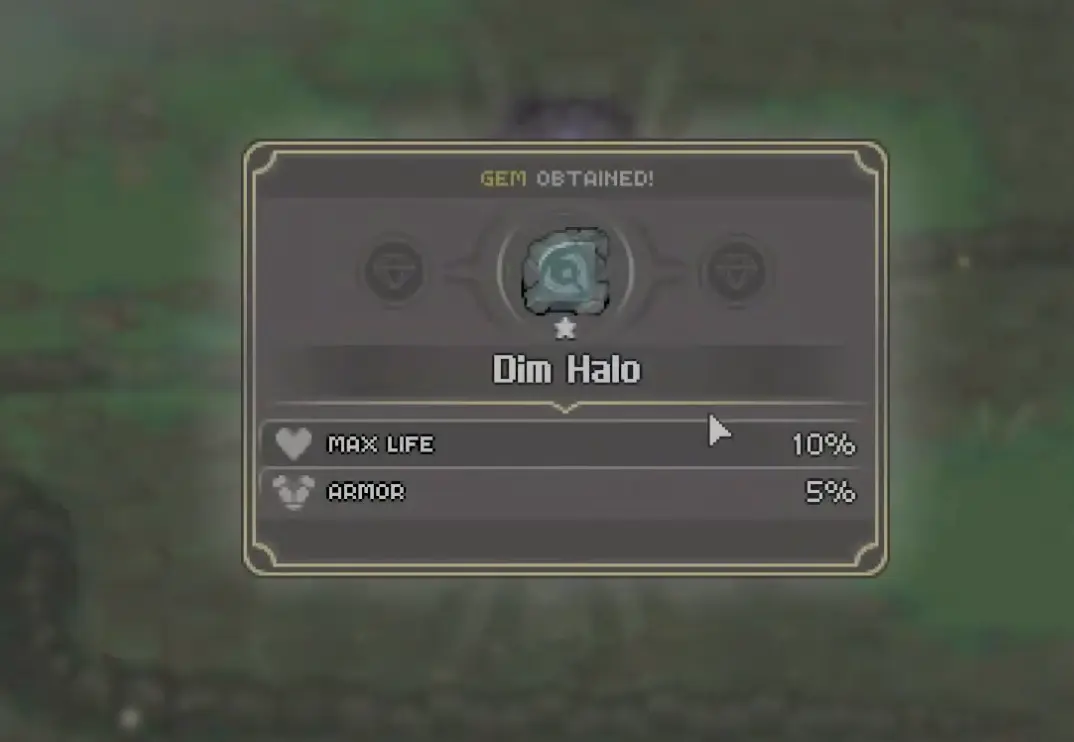
Weapons and equipment can use gem slots, and the Artificer / forge system lets you craft or upgrade gems as the game opens up. Do not ignore this system. A small defensive or damage gem can matter more than one careless stat node.
Early Gem Priorities
| Gem goal | When to use it |
|---|---|
| Max life / armor | If you are learning bosses or taking too many route hits. |
| Ranged attack | If you rely on crossbow or Aether puzzle combat. |
| Break support | If armored enemies take too long to open up. |
| Resistance | If a dungeon or enemy type keeps applying the same problem. |
| Utility | Good once you already have stable survival and damage. |
Do not chase perfect builds in the first version of Early Access. The better plan is to use gems to answer the problem in front of you.
Food, Boosts, and Palate Level
Food is not just a flavor system. It is part of your combat preparation.
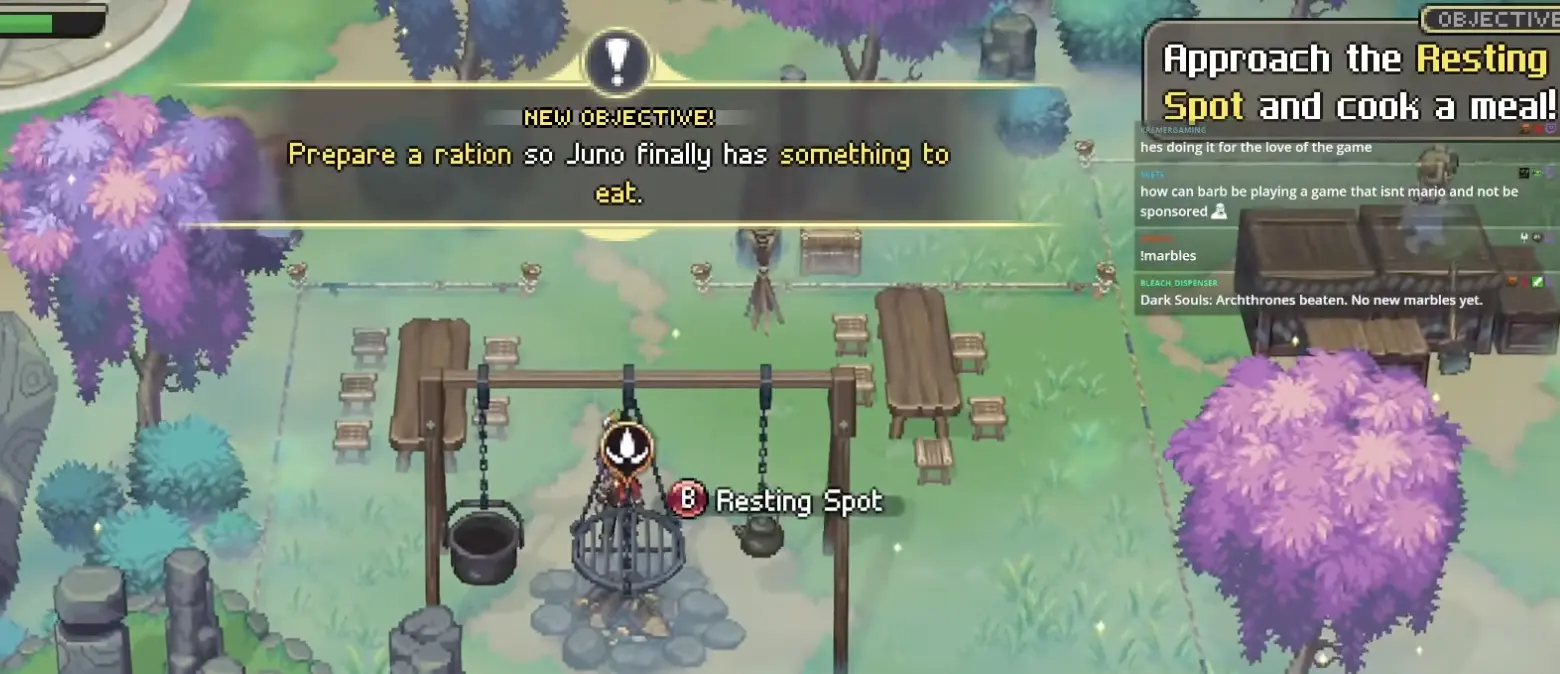
Cooking meals gives you boosts. Boosts can be activated during combat, and holding the input slows time slightly, making it safer to use them in a fight.
Palate Level
Palate Level is the system many new players underestimate.
The idea is simple:
The more you cook and try different dishes, the better your food effects become over time.
That means food has long-term value. If you only cook the same basic meal and ignore the rest, you are leaving scaling power on the table.
| Food habit | Result |
|---|---|
| Cook only when forced | You get short-term boosts but weak long-term value. |
| Try new dishes | Palate Level improves and food becomes more rewarding. |
| Cook before bosses | You enter hard fights with an extra tool. |
| Match food to your problem | Defense, damage, or sustain can change a fight. |
For deeper build planning, use the Builds, Gems, and Food Guide.
Trial of Aether Quick Walkthrough
Trial of Aether is the first dungeon that really tests whether you understand weapon, element, and projectile logic.
The core mechanic is:
Use Aether panels or Power of Aether to charge your ranged attacks, then hit purple orbs, crystals, switches, and enemies that react to lightning.
Trial of Aether Room Answers
| Room / area | Step-by-step answer | If you are stuck, check this |
|---|---|---|
| A5 | Clear the enemy waves first. When the Aether panel appears, stand on it, charge your ranged attack, and shoot each purple orb before moving on. | If an orb does not react, you probably stepped off the panel too early or fired a normal ranged shot instead of an Aether-charged one. |
| Entrance / A1 switch platform puzzle | Shoot the left switch first. Stand on the platform, shoot the right switch, move forward, then shoot the next switch to lower the second barrier. | If the second barrier stays up, you likely advanced before hitting the follow-up switch from the correct platform angle. |
| B1 / B2 | Stand on the Aether panel and shoot the purple orbs again. Use Aether-charged ranged attacks against frog enemies because they are weak to lightning. Reflect the turtle projectile when possible. | If the frogs feel too tanky, stop using normal shots. If the turtle blocks your route, wait for its projectile and reflect it instead of forcing melee. |
| Power of Aether room | Clear the next encounter to gain Power of Aether. After this, you can use lightning attacks without relying only on floor panels. | If later orbs still do not respond, check whether you are using the correct Aether attack, not just your default ranged weapon. |
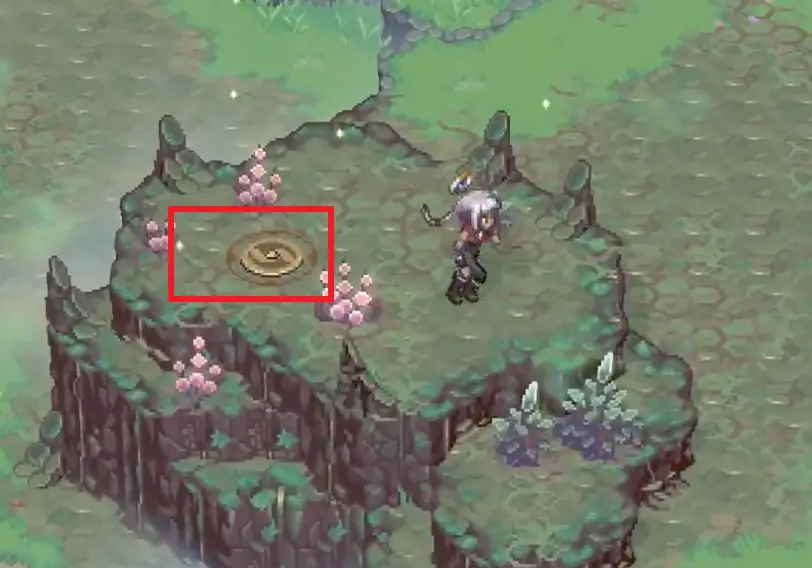
| Outside left hidden chest | After leaving the Hall of Trials, jump to the left platform. Shoot the ring on the left to reveal more rings and an orb. Complete the sequence to spawn the chest with Dirty Quill. | If nothing appears, look for the first ring on the left side. The puzzle does not start from the chest location itself. |
| Outside right puzzle | Move right, interact with the floating ring, then hit the crystal to raise the platform and reach the upper area. | If the platform will not rise, you probably skipped the floating ring interaction before shooting the crystal. |
| B3 | Use the large floating ring and moving platforms. When the second platform stops, hit the crystal on the platform to lower the barrier. Stand on the platform, hit the nearest crystal to move again, jump left, clear enemies, then interact with the ring. | If the moving platform stops and nothing happens, look for the crystal on or near the platform. The room is not asking for a blind jump first. |
| B5 | On the left, interact with the ring to spawn a block, push it down and right, then hit the ball twice so it drops to the lower platform. On the right, activate the base rock, press the button to move the platform near the crystal, shoot the ball upward, catch it with Chakram, shoot it into the platform ring, then press the button again to return the platform. | If the ball is in the wrong place, reset your thinking around the platform position. The Chakram is not just for damage here; it is the tool that catches and redirects the ball. |
The most common Trial mistake is trying to solve every room with normal shots. If a purple orb, ring, or crystal does not respond, check three things in order:
- Are you standing on the Aether panel or using Power of Aether?
- Are you hitting the correct target from the correct angle?
- Does the room need a ring interaction or Chakram catch before the shot matters?
For the full room-by-room version with screenshots, use the Trial of Aether Guide.
Early Boss Guide: Inferna Vespa
Inferna Vespa is the first boss that forces you to stop playing sloppy.
The fight is not just “hit the wasp until it dies.” You need to control distance, use break windows, and avoid wasting stamina while it is moving.
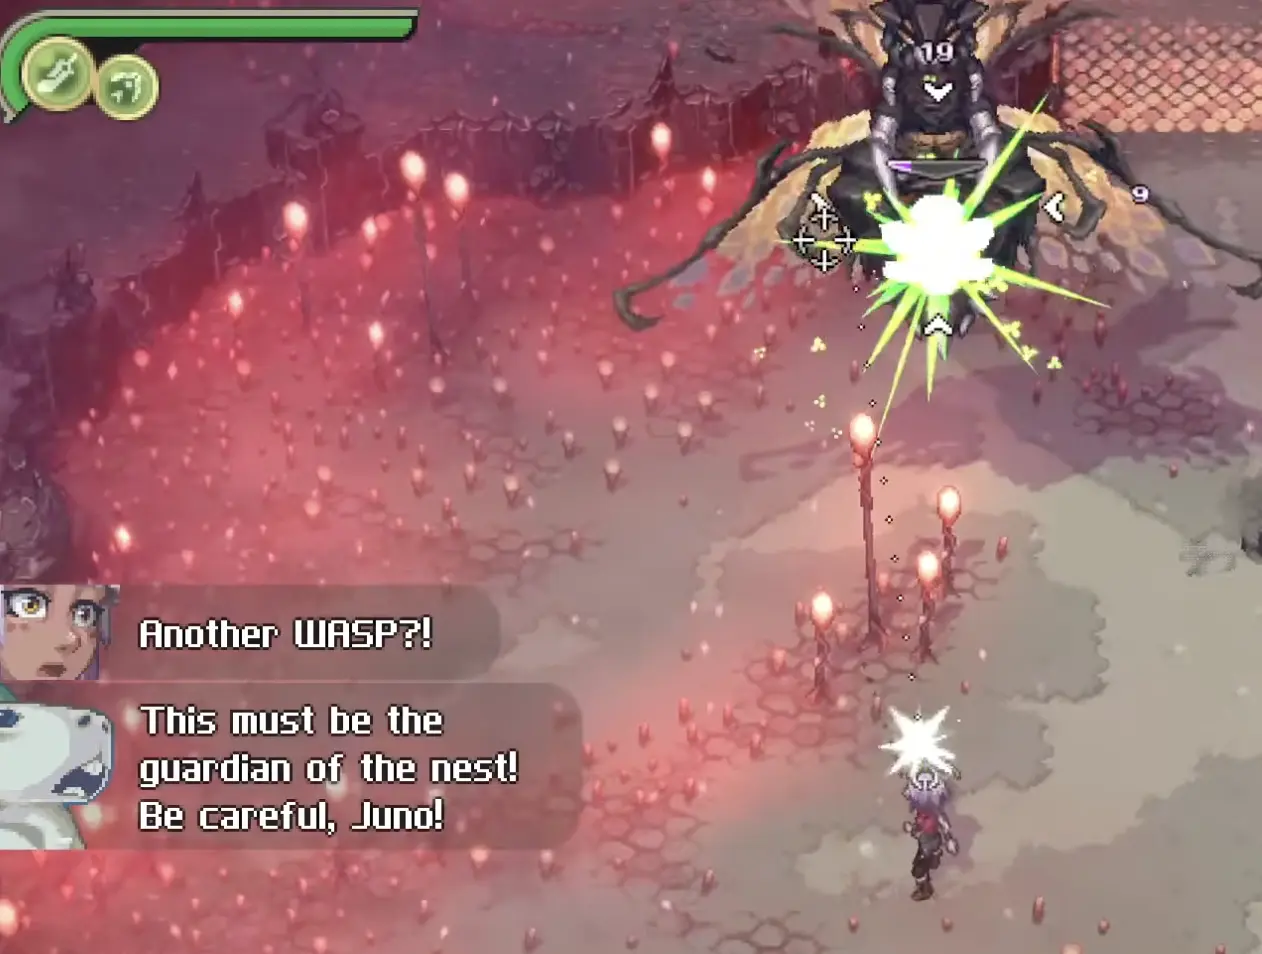
Inferna Vespa Attack Responses
| Boss action | What it looks like | Best response | Punish window |
|---|---|---|---|
| Dive / slam chain | Inferna Vespa rises, drops, or slams in repeated beats. | Dodge the impact and wait for the final landing instead of attacking after the first movement. | After the last slam, when the boss pauses near the ground. |
| Multi-shot projectile pattern | The boss fires several shots or beam-like lines across the arena. | Keep moving at mid-range. Use ranged pressure when safe, but do not lock yourself into a long melee string. | After the last projectile line ends. |
| Close-range hover | The boss stays low enough to hit but can still move quickly. | Use short melee strings or safer Combat Arts. Do not commit to a slow hammer attack unless the boss is already recovering. | After a whiffed movement or during a short hover pause. |
| Break state | The boss is staggered and stops controlling the arena. | Spend your strongest safe combo, Divine Art, or highest-damage Combat Art. | The full break window. |
The key is not to chase Inferna Vespa every time it moves. Most deaths happen when players swing during movement instead of waiting for the final landing, projectile recovery, or break state.
Best Early Approach
- Enter with healing bulbs ready. Do not rely on arena plants staying accessible — the boss can destroy or deny them.
- Use food if you have a useful boost.
- Use ranged attacks when the boss is airborne.
- Build break instead of forcing long melee strings.
- Punish after dives and after projectile patterns.
- Do not greed heavy attacks unless the boss is broken or recovering.
For more boss sections as Early Access expands, use the Boss Guide.
Exploration, Side Quests, and Rebuilding
Alabaster Dawn uses exploration in a very route-heavy way: you will see rewards before you can reach them.
That does not always mean you missed something. Often it means you need:
- a later weapon,
- a later Divine Art,
- a side quest result,
- a rebuilt route,
- a shortcut,
- or a cleaner platforming path.
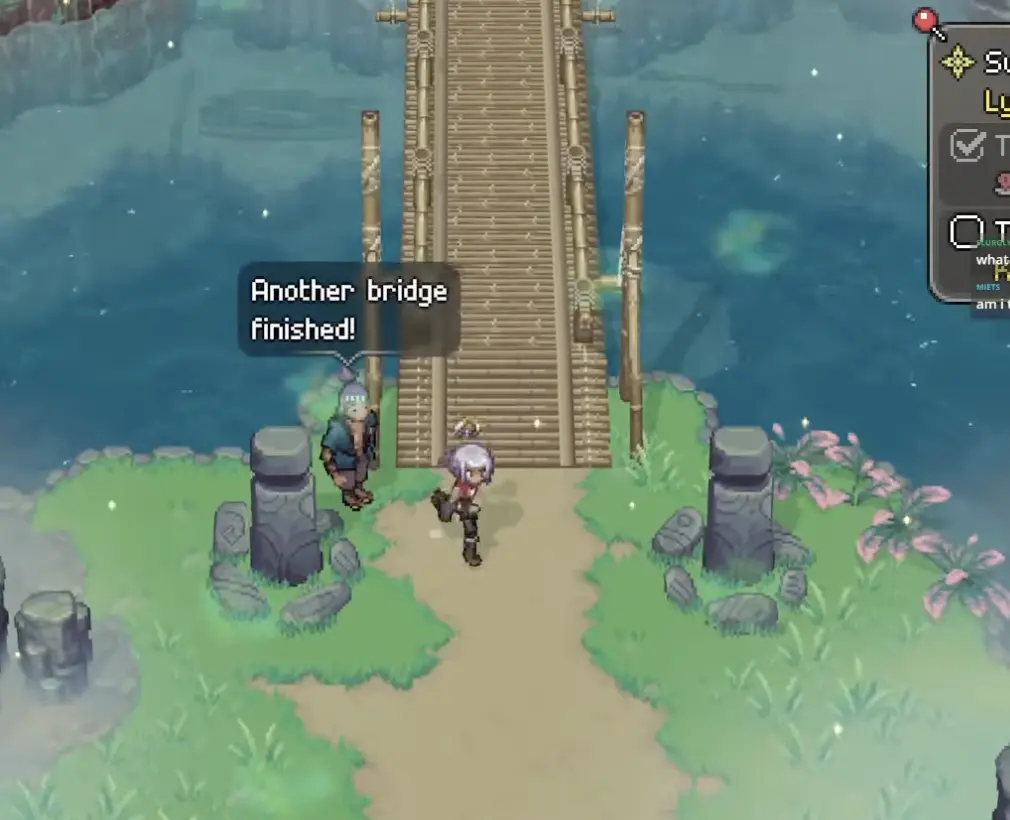
What to Do With Unreachable Chests
| Situation | What it usually means |
|---|---|
| Chest across a gap | Look for a platforming route, ring, or later movement option. |
| Chest behind rocks | You may need hammer or another impact tool. |
| Chest behind elemental obstacles | Come back after gaining the matching power. |
| Route blocked near a village | Check side quests, tasks, and rebuilding progress. |
| Strange interactable object | Mark it and return after new weapons or Divine Arts. |
Do not make a 100% checklist your first goal. Early on, the better strategy is to mark suspicious spots and keep progressing until you have more tools.
For side quests, Community Level, offerings, rebuilding, and shortcut logic, use the Exploration and Side Quests Guide.
For CrossCode Players
Alabaster Dawn is not CrossCode 2, but the design DNA is obvious.
| If you liked CrossCode for… | What to expect here |
|---|---|
| Puzzle rooms | Yes, but with more weapon and element interaction. |
| Fast combat | Yes, with more ARPG-style weapon identity. |
| Skill trees | Yes, but tied heavily to individual weapons. |
| Hidden routes | Yes, especially once traversal and side quests open up. |
| Long-term mastery | Yes, through weapons, gems, food, elements, and boss patterns. |
The main difference is that Alabaster Dawn asks you to think in loadouts earlier. CrossCode trained you to read elements and puzzles. Alabaster Dawn adds weapon XP, food scaling, and more direct action-game commitment on top.
What Not to Worry About Yet
| System | Early advice |
|---|---|
| Full 100% chest routing | Skip it for now. You need more traversal tools and confirmed routes. |
| Perfect weapon tier list | Too early. Enemy type, element, and dungeon mechanics matter more. |
| All recipes | Learn food, boosts, and Palate Level first. Full recipe optimization can come later. |
| All bosses | Start with Inferna Vespa and expand as more bosses are captured. |
Version Notes
This guide is written for the current Early Access version of Alabaster Dawn.
Because the game is still in Early Access, dungeon layouts, weapon balance, food values, gem effects, and boss behavior may change. If a puzzle step, boss pattern, or item reward no longer matches your version, treat the in-game behavior as correct and check whether this guide has been updated for your current build.
| Guide version | Notes |
|---|---|
| 2026-05-08 | Added the main hub, early weapon planning, enemy response table, Trial of Aether quick answers, Inferna Vespa notes, gems, food, Palate Level, and exploration guidance. |
FAQ
Is Alabaster Dawn like CrossCode?
It shares action-puzzle DNA with CrossCode, but it is not just CrossCode with a fantasy skin. Alabaster Dawn puts more early emphasis on weapon loadouts, weapon XP, food boosts, gems, and settlement progression.
How many weapons are in Alabaster Dawn?
The full combat structure is built around 4 elements and 8 weapons. Early weapons include Claio Solas, Bogha Solas, Ortrom Solas, and Fain Solas.
Do weapons level separately?
Yes. Weapons have their own progression, so focus on a reliable melee and ranged pair before rotating too many tools into your main setup.
What weapons should I focus on first?
Use sword and crossbow as your early core. Add hammer when enemies, rocks, or shells demand heavy impact. Test new weapons seriously after your main pair has useful Growth Chart unlocks.
How do I solve Trial of Aether puzzles?
Use Aether panels or Power of Aether to charge ranged attacks, then shoot purple orbs, switches, crystals, and puzzle targets. If something does not respond, check whether your shot is actually Aether-charged.
Where is Dirty Quill?
Dirty Quill is in the hidden chest outside the Hall of Trials. After exiting, go left, shoot the ring, reveal the puzzle targets, and complete the sequence to spawn the chest.
Why do I keep getting hit during heavy attacks?
Alabaster Dawn has animation commitment. If you start a slow attack while the enemy is still active, you may not be able to dodge in time. Use heavy attacks after whiffs, breaks, or clear recovery windows.
What is Breaker?
Breaker affects how quickly you build break pressure. If enemies take too long to stagger, check your Breaker-related upgrades, weapon choice, and Combat Arts.
What is Palate Level?
Palate Level improves as you cook and try dishes. It makes food more valuable over time, so cooking is a long-term power system, not just temporary healing or flavor.
How do I beat Inferna Vespa?
Wait for the end of its dive chain or projectile pattern before committing. Use ranged pressure while it moves, then punish during recovery or break state.
Should I try to 100% the game now?
Not in your first pass. Alabaster Dawn has visible rewards that may require later weapons, elements, quest steps, or traversal tools.
Alabaster Dawn Guide Cluster
Explore the main Alabaster Dawn guides, from beginner strategy to builds, tiles, Gambits, bosses, and first-win routes.
Solve Trial of Aether in Alabaster Dawn, including Aether panels, A5 block chains, B5 Chakram ball routing, B9 element orbs, Dirty Quill, Power of Aether, and Rana Lingua Magna.
Build GuideAlabaster Dawn Early Builds, Gems & Food GuideOptimize your Alabaster Dawn setups! Learn the best early builds, 4-element weapon pairs, essential gem slots, and Palate Level food boosts.